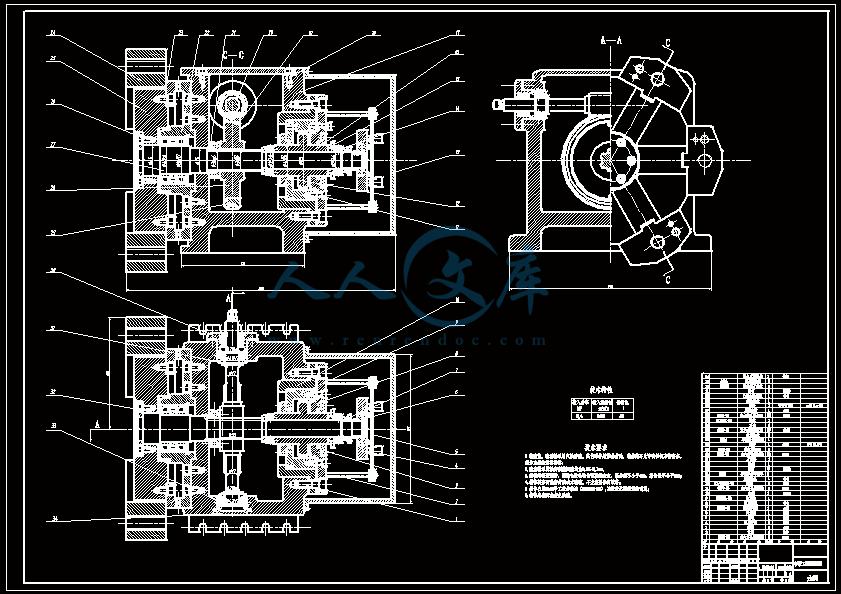
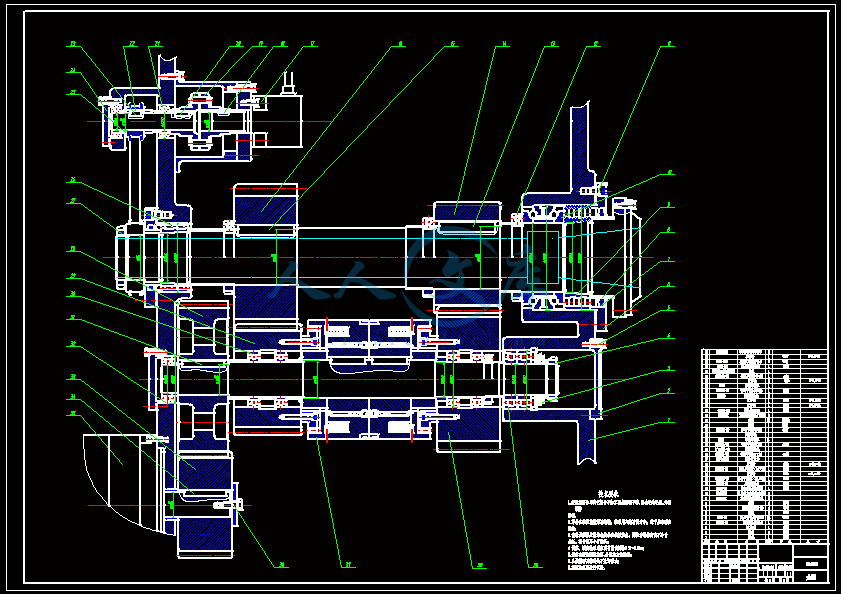
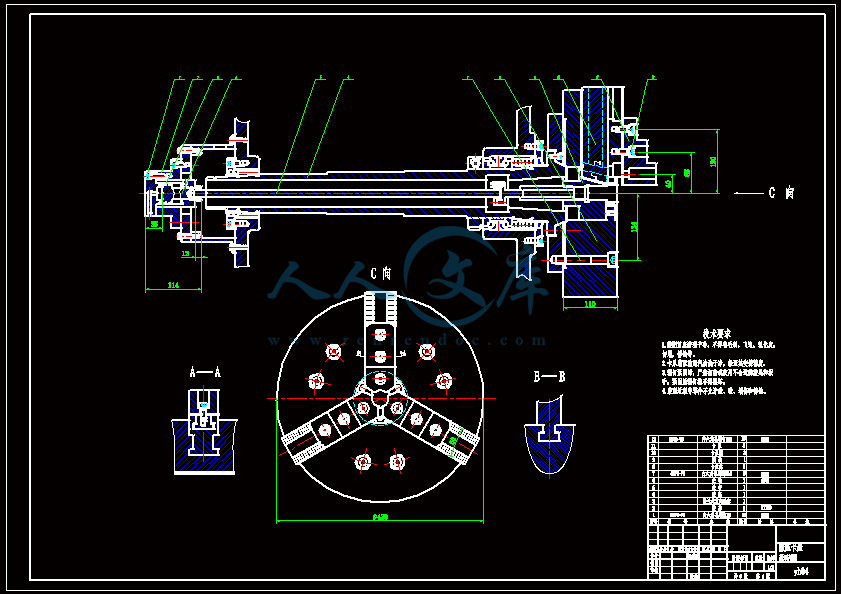
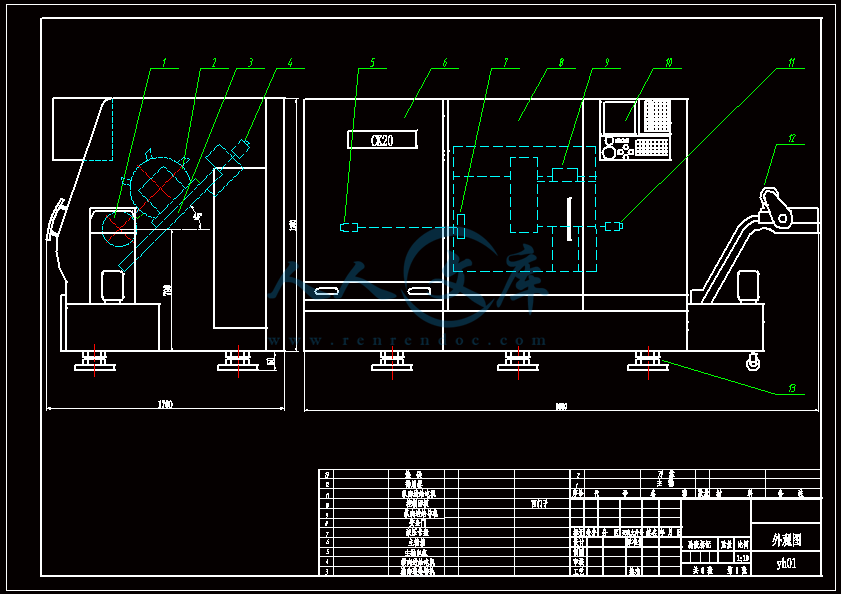
CK20数控车床主传动系统设计(全套含CAD图纸)
收藏
资源目录

压缩包内文档预览:
编号:10132329
类型:共享资源
大小:5.32MB
格式:ZIP
上传时间:2018-05-31
上传人:机****料
认证信息
个人认证
高**(实名认证)
河南
IP属地:河南
50
积分
- 关 键 词:
-
ck20
数控车床
传动系统
设计
全套
cad
图纸
- 资源描述:
-
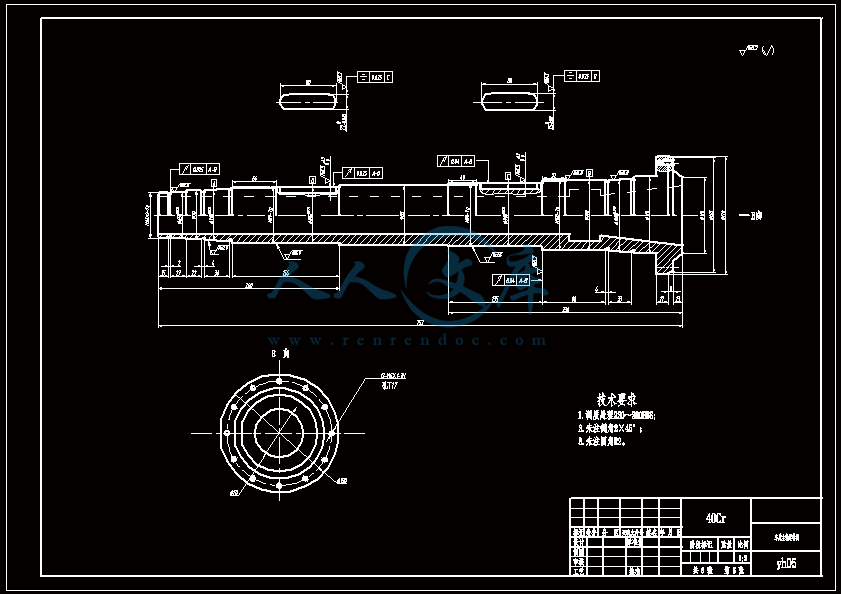
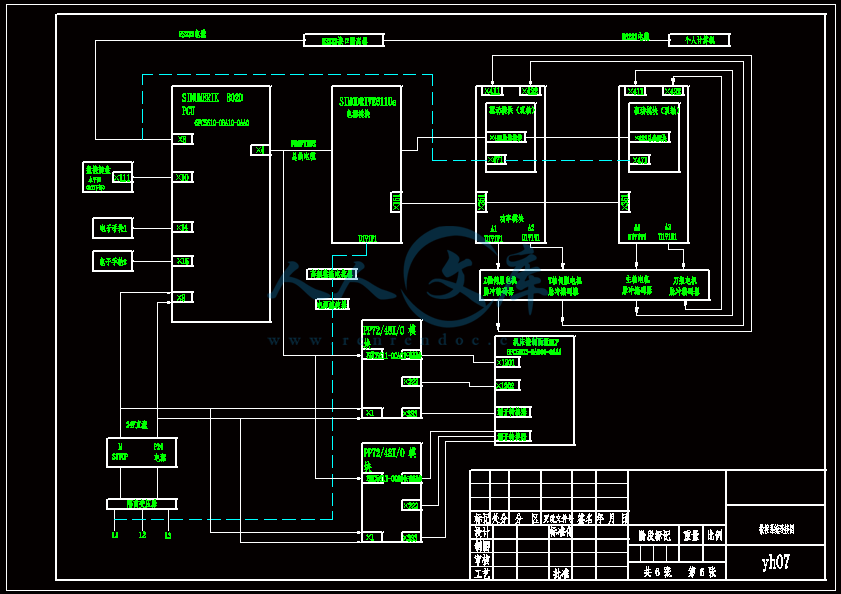

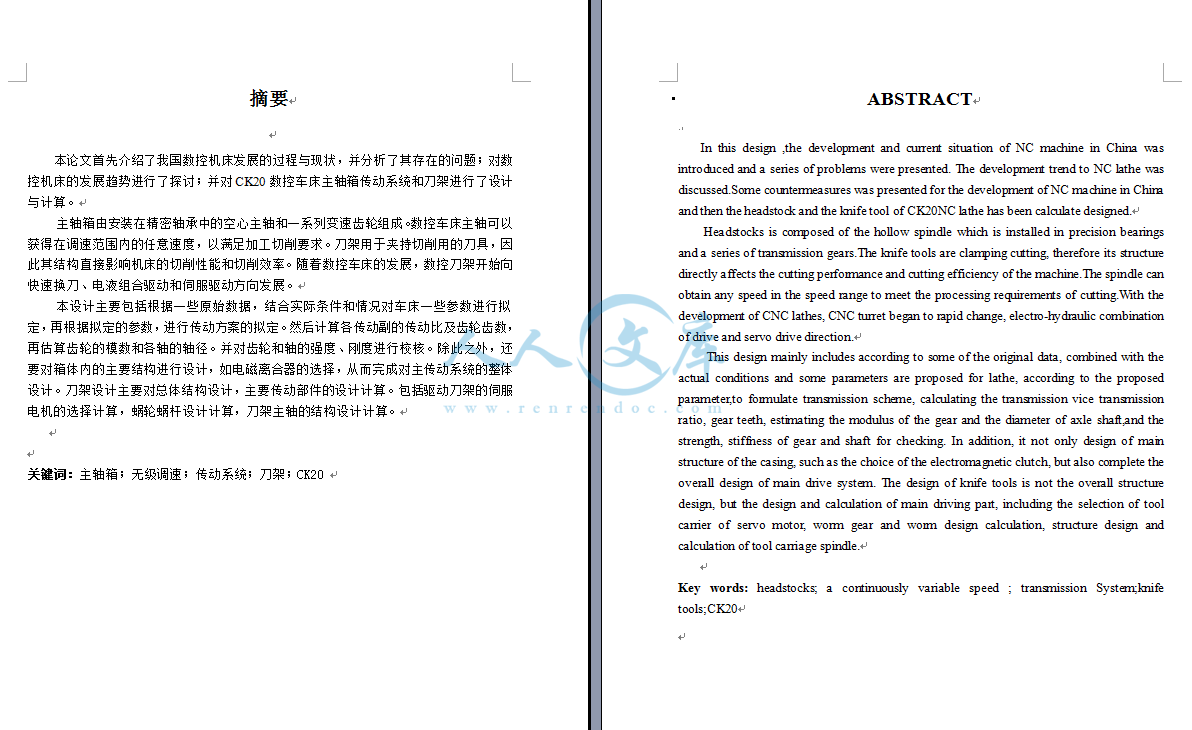
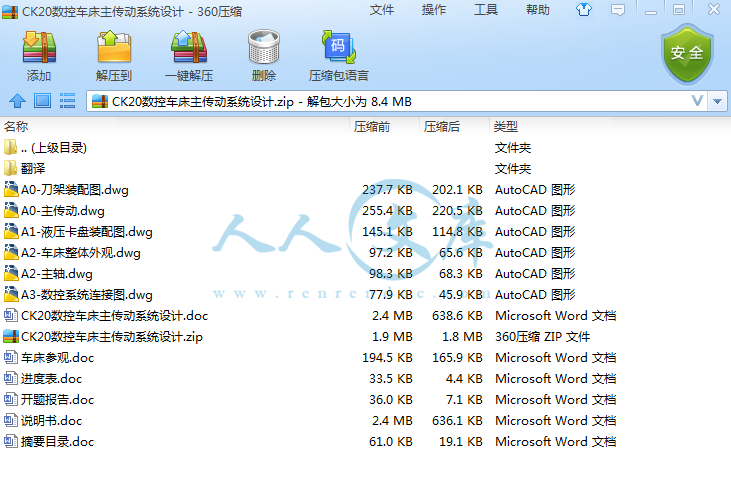
- 内容简介:
-
Journal of Materials Processing Technology 179 (2006) 117123Development of a low cost Touch Trigger Probe for CNC LathesMarcelo Del Guerraa, ReginaldoaEscola de Engenharia de Sao Carlos-EESC-USP, Av. TrabalhadorbEscola de Engenharia de Sao Carlos-EESC-USP, Av. TrabalhadorAbstracta wthe Howeroutines loa discussingne is proposed,CNC a repeatabilitycharacteristicsK On-machine1.fcontrolpart-to-partusingtoments and calibrations based on projects specifications, closed-loop process control, dimensional control of parts manufactured,tool compensation, fast setup, process statistical data acquisitionand more.It is very important in current manufacturing systems trendstoinspectionerrorsapartsstartsnologiespaperrtcoelhosc.usp.brProbe,typestudies.2.cificand revolutionize the use of coordinate measuring machines(CMMs) for post-process inspection of manufactured compo-nents. In the end of 1970s, almost all the major CMM manufac-turers in the world were using RenishawsTMprobes.Later, due to CNC advances including measurement func-0924-0136/$doi:make the use of these functions, making possible a part-to-partcontrol if necessary, which assures that dimensionalare immediately detected, reducing scraps, avoiding thatfull batch of pieces are scraped and reducing the costs due toreworks.To assist dimensional control on turning operations, this workintroducing the Touch Trigger Probes characteristics, tech-used to generate the “trigger signal”. After that, thispresents a simple and low cost wireless Touch TriggerCorresponding author.E-mail addresses: mdguerrasc.usp.br (M. Del Guerra),(R.T. Coelho).tions and linear encoder on its axes, the use of such devicesspread to machine tools, where they became a vital componenton automated production systems, allowing companies, fromautomotive to aerospace, to deliver precise components, reduc-ing scraps and maximizing productivity.David McMurtry developed the Touch Trigger Probes tech-nology in 1972. The problem arose at Rolls-Royce plc, where hewas Assistant Chief of Engine Design. At that time, he was fac-ing the problem of measuring some complex pipe runs, of only6 mm diameter, for the Olympus engines used on Concorde. Thepipes had to fit accurately between solid mountings, but the diffi-culty came in measuring them once they had been manufactured.The solution found was the Touch Trigger Probe (TTP), whichuses a simple principle to identify the contact between the probe see front matter 2006 Elsevier B.V. All rights reserved.10.1016/j.jmatprotec.2006.03.093The use of Touch Trigger Probes for CNC Machine Tools has becomeability to promote workpiece accuracy on-machine gramming difficulties, high costs of these equipments and thereview on the applications of Touch Trigger Probes on shop floor,w Touch Trigger Probe model based on a simple electrical contactLathes. The tests of the probe developed in the laboratory shownseem to be highly comparable to most needs for lathe applications2006 Elsevier B.V. All rights reserved.eywords: Dimensional quality monitoring and control; Touch Trigger Probes;IntroductionOne of the, nowadays, most difficult challenges on manu-acturing system developments is to achieve total dimensionalof parts produced, creating statistical data analyses andcontrol. This kind of integration may be reached bydevices commonly called Touch Trigger Probes attachedCNC Machine Tools. These equipments are used for measure-Teixeira CoelhobSancarlense 400, CEP 13566-590, Sao Carlos, SP, BrazilSancarlense 400, CEP 13566-590, Sao Carlos, SP, Brazilorld standard, mainly due to the reduction of machine setup time andver, some barriers still need to be transposed, like the measurementw number of technical literature about this subject. This work presentsnowadays technologies used to generate the trigger signal. Awith the needed characteristics and low cost, to be used forof 0.003 mm (3 s or 99.73% confidence interval). Thosein industries.measuring systems; CNC Lathesbased on a direct electrical contact principle. A proto-is presented together with the repeatability and accuracyTouch Trigger Probes earliesThe first Touch Trigger Probe was invented to solve a spe-inspection requirement, but went on to transform the design118 M. Del Guerra, R.T. Coelho / Journal of Materials Processing Technology 179 (2006) 117123andteredproturersthegiesto3.onmomentsignal,conthesaeinterfmunicationwireforvidesinterferencesproofcontact,sionradio2which4.sionalssettinginviehainTo make probing effective and more affordable to a widerange of users, some of the main leading CNCs manufactures,such as Fanuc, Heidenhain, Okuma, Cincinnati Milacron andSiemens, are including, in its CNCs software, graphical user-friendly interfaces specially developed for probing. HeidenhainTNC control series, for example, are able to automatically ormanuallyenablesaccuracwidentifyingfbebilityaddition,toenabletools.antroniclartersservicessourcesmachinesable.bilityCNCbetween5.nalprobeprobequantitysignaloldthetraitatelightpiezoelectricFig. 1. A measurement system attached to a CNC Machine Tool.the part to be measured. In 1973, David McMurtry regis-a company called Renishaw that early become the leadingvider of metrology and spectroscopy solutions to manufac-and researchers around the world (Renishaw 1). Due topatented mechanism used by the company, other technolo-needed to be developed by other companies that intendedjoin on this market.Touch Trigger Probes main characteristicsIndependently of the technology used, the principle is basedthe generation (or interruption) of an electrical signal at thethe probes tip touches the part to be measured. Thisgenerally called trigger signal, is sent to the interface thatverts it to be read by a CNC or a CMM. At the moment thatmachine receives the trigger signal, it instantly freezes andve the axis values for calculations and reports generation (seexample in Fig. 1).The trigger signal transmission from the TTP to the probeace can be established using basically three different com-technologies: infrared, radio frequencies or a simplecable.Infrared communication is used for conventional applicationsstandard lathes and milling machines; this technology pro-high reliability, high transmission speed rates, low noiseand low implementation costs. It is close to a fool-system, except when probe and receiver are out of visualas when the probe is deep within a bore or other depres-within the workpiece. For these cases and applications, afrequency system is recommended, (Tooling & Production). Wire cable communication is used for tool setter probesare mounted and fixed on the machine tables.Probing cycles and programmingAccording to Modern Machine Shop On Line 3, few profes-will dispute the merits of probing for speeding part setup,tool offsets and performing in-process inspection, at leasttheory. In practice, however, probe systems often have beenwed as difficult to use and expensive to buy. As a result, theyve become tools used primarily by experienced programmershigh-production environments.5.1.widespread.olutionizednismoncarry through three-dimensional measurements andcheck functions, such as checking the dimensionaly of holes, determining feeds for finishing, checkingorkpiece geometry and identifying deviations from tolerances,workpieces prior to machining and scanning 3D sur-aces. Also, probing cycles are being widely developed and canactivated by a single line of information (Zhou et al. 4).Todays standard machine tools deliver accuracy and repeata-approaching levels formerly available only on CMMs. Intechnology advances are making these machines easiermaintain. Test and calibration technology are now available toshops to ensure the accuracy and health of their machineTelescoping ballbars are readily affordable by virtuallyy shop. A well-stocked toolbox should also contain either elec-levels or a good set of precision machine levels. Plants andge shops increasingly maintain their own laser interferome-and electronic levels, while rental equipment and diagnosticsare commercially available to small shops from various(Modern Machine Shop On Line 5).Also, according to Modern Machine Shop On Line 6, CNCare, in general, very accurate and extremely repeat-They compare favorably with the accuracy and repeata-of CMMs of similar size. With some care during theinspection process, the factors that lead to interdependencemeasurement error and cutting error can be minimized.Technologies used to generate the trigger signalAccording to Shen and Moon 7, there is no trigger sig-generated when the probe tip touches the workpiece. Thewill continue to move toward and the force between thetip and the workpiece will increase, causing a physical(e.g., resistance) to reach a threshold setting. A triggeris generated when the physical quantity exceeds a thresh-limit in the sensing system. The travel distance betweentouch instant and the trigger instant is known as probe pre-vel. Mainly caused by bending deflection of the stylus shaft,accounts for the majority of probe errors.Basically there are four different principles used to gener-the trigger signal: electrical contact (kinematic contact),(laser interferometry), deformation (strain-gauges) and theeffect.Kinematic contactCurrently, this is the most used Touch Trigger ProbeDeveloped by David McMurtry, this principle rev-the use of the coordinate measurement machines.According to Fig. 2, it is a kinematic re-seating mecha-based on three small cylindrical pieces that stay seatedsix other cylinders/spheres by the pressure caused by theM. Del Guerra, R.T. Coelho / Journal of Materials Processing Technology 179 (2006) 117123 119Fig.tionspringisnormallytipcontactsdetectedmeasurementpiece,stable5.1.1.distinguished:electro-mechanical5.1.2.arecontacts.istoacteristic10mechanismcausingv11tovmodelsmanufCumulative errors happen when using stylus longer than30 mm due to the fact that the touching force necessary to gen-erate the “trigger signal” bends the stylus and this deflection isproportional to its length.The acquisition cost of these equipments is relatively highif compared to other systems that provide similar benefits. Thisequipmentthem5.2.deritheelectricallimits5.2.1.pre-trabecausetherate(loable5.2.2.highiterature5.3.systemit2. Kinematic Touch Trigger Probes working principle (Tooling & Produc-2).action, restricting its degrees of freedom until the stylusbrought into contact with the workpiece. An electrical currentflows through the three seats in series. When the probemoves away from its stable position, one or more of the seatbreaks and the increase in resistance is immediatelyelectronically (Mayer et al. 8 and Reid 9). After theis done, when the probe tip moves back from thethe probe spring forces the mechanism back to the initialposition, re-establishing the standard resistance.System advantagesFrom the main advantages presented by this system, it isthe simplicity of the system, robustness of theassembly, widespread and studied principle.System disadvantagesDue to the electro-mechanical assembly, kinematic probessusceptible to the consuming and corrosion of its electricBesides, the main typical characteristic of this kind of proberelated to the pre-travel variation. Since stylus bending priortrigger is the major constituent of probe pre-travel, this char-varies according to changes in touch directions (Reid). This behavior happens due to the fact that the internalseats in three “V-Blocks” separated by a 120angle,the force necessary to generate the “trigger signal” toary according to the approaching direction (Kim and Chung).Miguel et al. 12 also say that the dynamic force necessaryopen one of the electric contacts depends on the approachingelocity.According to Shen and Moon 7, same Touch Trigger Probesmay show different pre-travel variation behavior due toacture and small changes during the assembly process.difHeidenhain5.3.1.topro5.3.2.thefirstmeasuredilarlythetemsis very well known and the brand that manufacturesis associated with very high quality.Strain-gaugesStrain-gauges probes deals with analogical informationving from the electrical resistance variation produced whenstylus touch the part to be measured.To use this technique as a digital switch, it is necessary ansignal conditioning and treatment, establishing thefrom which the “trigger signal” is generated.AdvantagesOne of the main advantages of this technique is that thevel variation is much lower than on kinematic probesthe stylus deformation itself is responsible for triggingevent. For this reason, this kind of probe is extremely accu-and makes possible the use of stylus as long as 200 mmFig. 3).The probe uses solid state electronics, providing long life andw wear. Based on analog signal calibration, these systems areto detect contact forces of 0.2 N.DisadvantagesThe disadvantages associated with these probes rely on theacquisition cost, extremely advanced electronics that makesvery delicate equipment and the fact that there are very few lit-and information specifically approaching these systems.LaserThese probes operate with an optical switch as sensor. A lenscollimates the light generated from an LED and focusesonto a differential photocell. When the stylus is deflected, theferential photocell produces a trigger signal, (Dr. Johannes13).AdvantagesOne of the main advantages of these equipments is relatedits cost, relatively low if compared to other equipments thatvide similar performance.DisadvantagesTo have a change on the differential photocell point wherecollimated light happens and generates the “trigger signal”,of all, a force between the stylus tip and the part to bewill be needed to deflect the internal mechanism, sim-to what happens with “kinematic probes” regarding toopening of its electrical contacts. For this reason, both sys-present similar pre-travel variation characteristics, showing120 M. Del Guerra, R.T. Coelho / Journal of Materials Processing Technology 179 (2006) 117123probes (TP20) with strain-gauge probes (TP800) (Renishaw 1).accuracsured305.4.electricofprinciple,themoment5.4.1.strain-gaugekinematicsensiti5.4.2.lisions,machine6.toTLathes.blyused6.1.closingthe“trigger signal” is generated and sent by radio (wireless) to theprobes interface that will be responsible for sending a 24 V dctoinertiaaitsgersystemtriggerproperlyafterwilldetoaccording6.2.INDEX-TRAFig. 3. Pre-travel variation: comparing the performance of kinematicy dependence on direction approach to the part to be mea-and both systems are not indicate to use stylus longer thanmm.Piezoelectric sensorPiezoelectric probes are based on the principle for which anpotential difference is generated between the two facesa piezoelectric crystal when it is pressed. Using this physicalit was possible to design a probe able to generate“trigger signal” from the electric potential generated at thethe probe stylus reaches the part.AdvantagesThey are extremely accurate and repetitive systems. Likeprobes, pre-travel variation is much lower than onprobes and it is possible to calibrate the system to beve to forces in the order of 0.2 N.DisadvantagesThey may be sensitive to some low frequency noises like col-start of motors, high spindle accelerations/decelerations,vibration, etc.Proposal of a model based on a simple electric contactThis work aims to use basic and well-known technologiesdesign and manufacture a low cost, robust and accurateouch Trigger Probe able to measure external diameters on CNCFor that, precise mechanical machined parts and assem-were designed and applied to develop a system able to beon the major Touch Trigger Probes applications.The systemThe working principle of the proposed equipment consists onan electrical contact between the stylus (grounded) andinternal target (Positive Pole). At this particular moment, theFcess.an appropriate input of the CNC.Due to the fact that the carriage will continue to move byafter the “trigger signal” happens, the target should havedrawback mechanism able to adsorb this movement, assuringsurface integrity (Fig. 4).Consequently, the repeatability of the developed Touch Trig-Probe is directly associated with the ability of the drawbackto precisely seats back to its original position after aevent occurs. If the drawback system does not work, there will be a change on the probes length preseta measurement and the diameter of the next part measuredbe showed as different than the real. For this reason, thevelopment of the drawback system was done very carefullyguarantee a good performance for the system.The probe was designed to be used on VDI Toolholders,to DIN 69880 and VDI 3425 standards.System repeatability and reproducibility (R&R)The CNC Lathe used to test the Touch Trigger Probe was anUB, model GU600, 22 kW power. The CNC was4. Dynamic behavior of the drawback mechanism during the measurementM. Del Guerra, R.T. Coelho / Journal of Materials Processing Technology 179 (2006) 117123 121Fig. 5. Illustration of the experiment procedure used to determine the probe R&R and a photo of the probe inspecting the part.a Siemens 810D, able to provide the measurement functionsneeded for the experiment.To determine the total system R&R (probe + machine tool),the experiment was accomplished taking a part of which diam-eter was previously machined and normalized.After that, a turning operation was made using a carbide cut-ting tool VBMT160404UC6010, cutting 0.010 mm from the partdiameter, taking all the necessary care with the cutting parame-ters to reduce the tool wear during the process.The part was then inspected using the Touch Trigger Probedeveloped, probing 60 consecutive times at the same point.Also a manual measurement was made at that point usinga regular micrometer. The data were saved on the CNC anddownloaded to a PC. The turning operation and consecu-tive measurements procedure was repeated five times, obtain-ing five data samples relative to each one of the diameters(Fig. 5).A
- 温馨提示:
1: 本站所有资源如无特殊说明,都需要本地电脑安装OFFICE2007和PDF阅读器。图纸软件为CAD,CAXA,PROE,UG,SolidWorks等.压缩文件请下载最新的WinRAR软件解压。
2: 本站的文档不包含任何第三方提供的附件图纸等,如果需要附件,请联系上传者。文件的所有权益归上传用户所有。
3.本站RAR压缩包中若带图纸,网页内容里面会有图纸预览,若没有图纸预览就没有图纸。
4. 未经权益所有人同意不得将文件中的内容挪作商业或盈利用途。
5. 人人文库网仅提供信息存储空间,仅对用户上传内容的表现方式做保护处理,对用户上传分享的文档内容本身不做任何修改或编辑,并不能对任何下载内容负责。
6. 下载文件中如有侵权或不适当内容,请与我们联系,我们立即纠正。
7. 本站不保证下载资源的准确性、安全性和完整性, 同时也不承担用户因使用这些下载资源对自己和他人造成任何形式的伤害或损失。

人人文库网所有资源均是用户自行上传分享,仅供网友学习交流,未经上传用户书面授权,请勿作他用。
 川公网安备: 51019002004831号