资源目录

压缩包内文档预览:
编号:11520075
类型:共享资源
大小:4.27MB
格式:ZIP
上传时间:2018-12-02
上传人:机****料
认证信息
个人认证
高**(实名认证)
河南
IP属地:河南
50
积分
- 关 键 词:
-
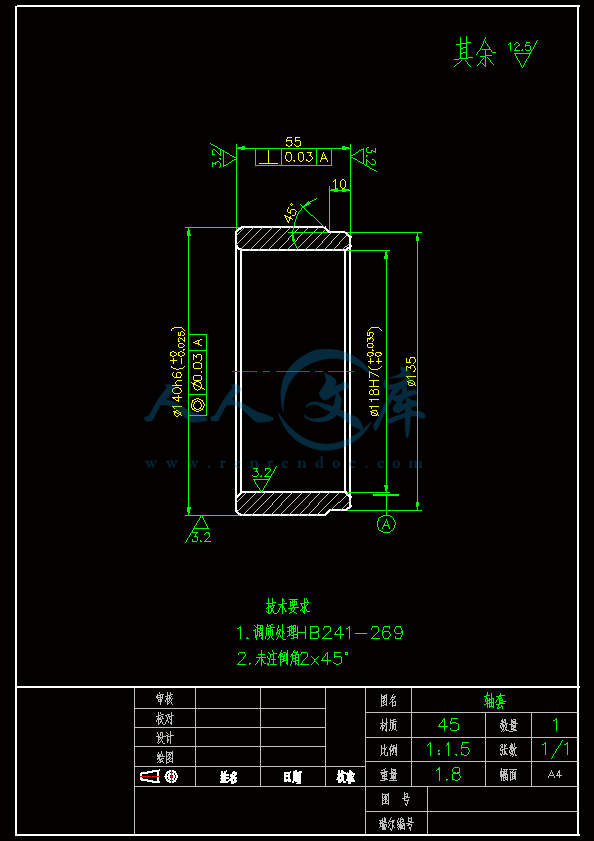
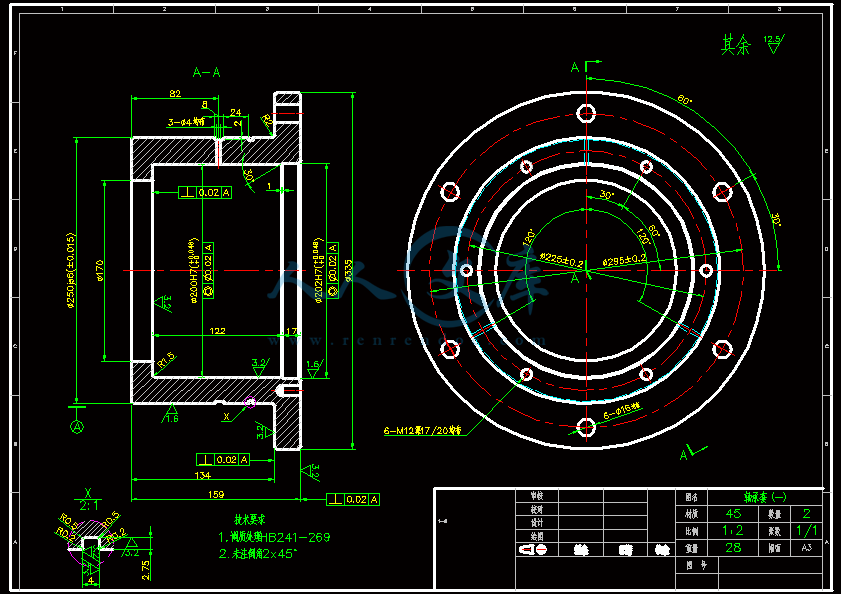
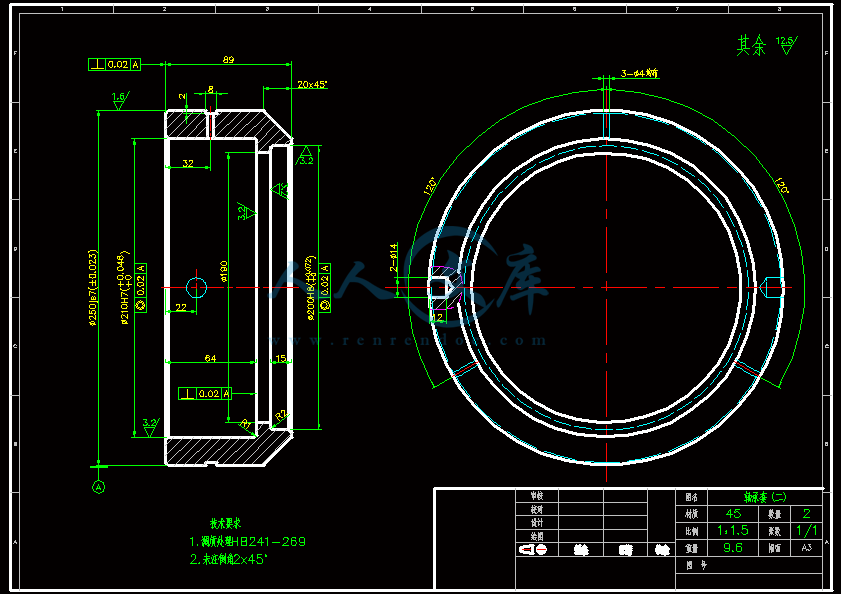
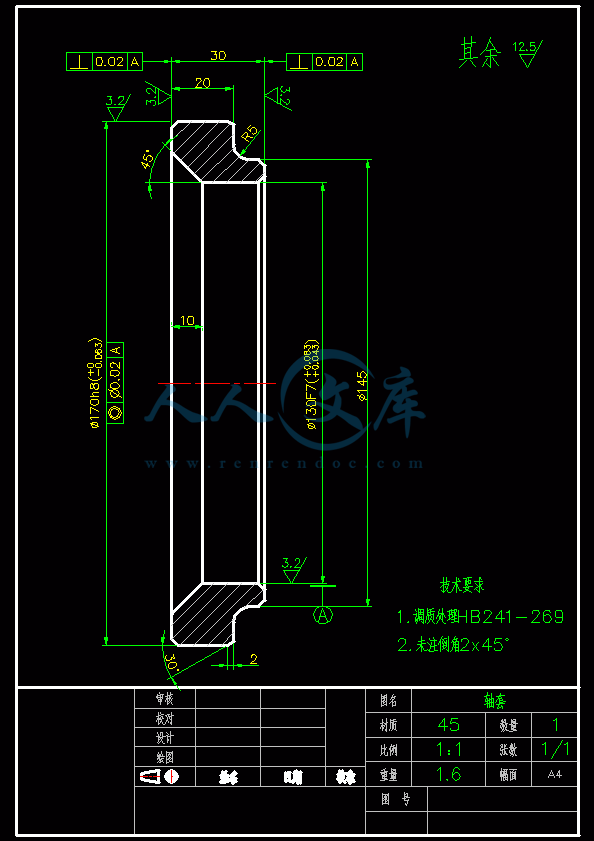
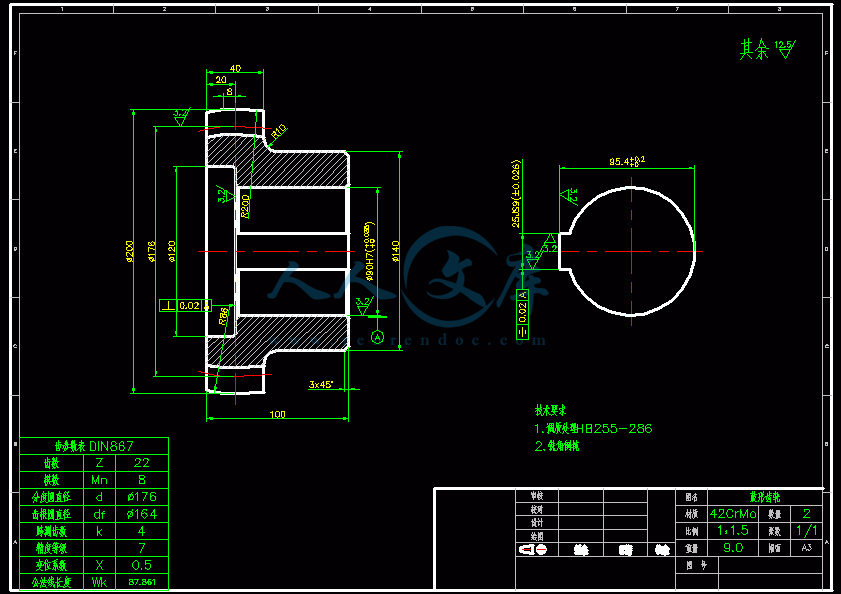
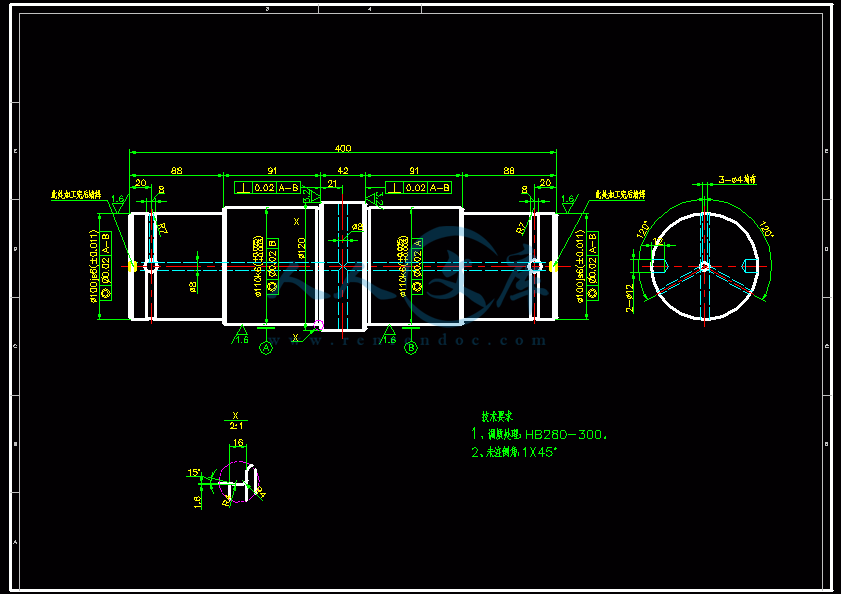
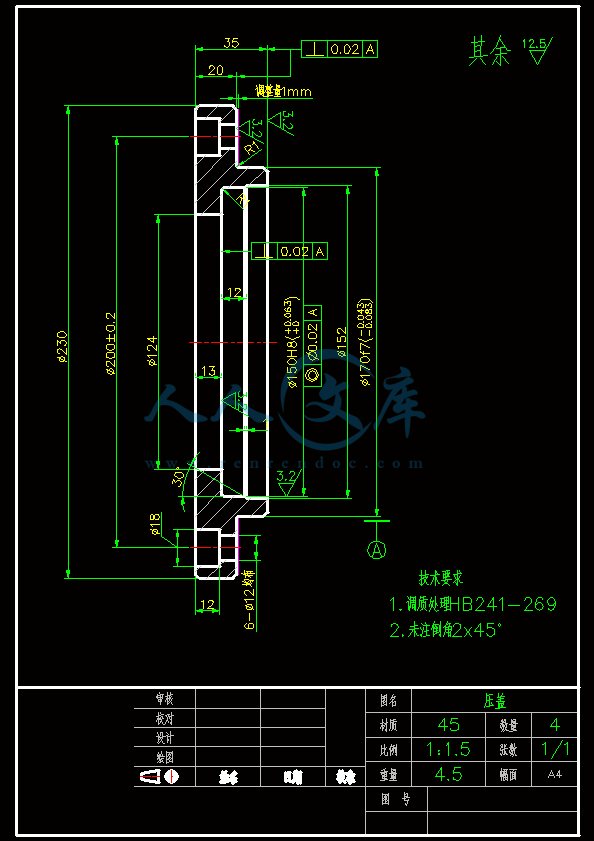
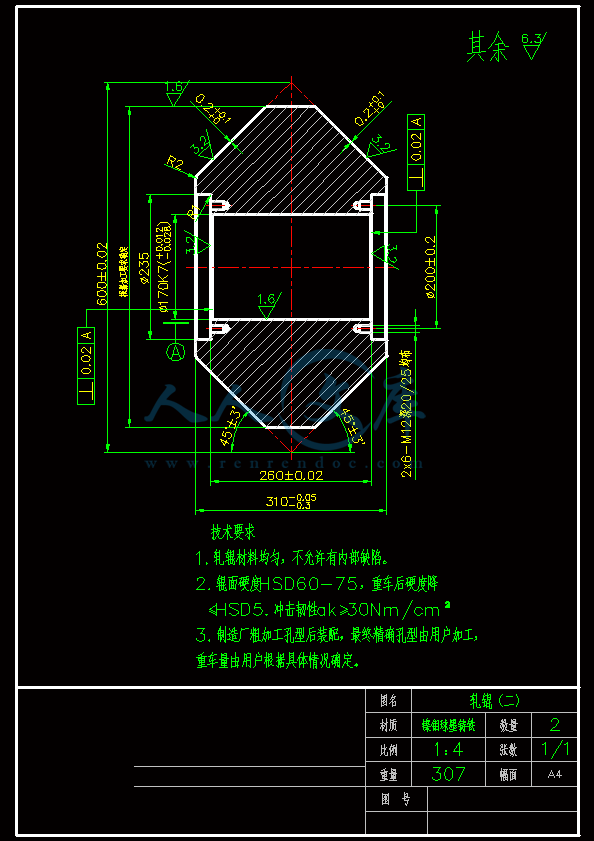
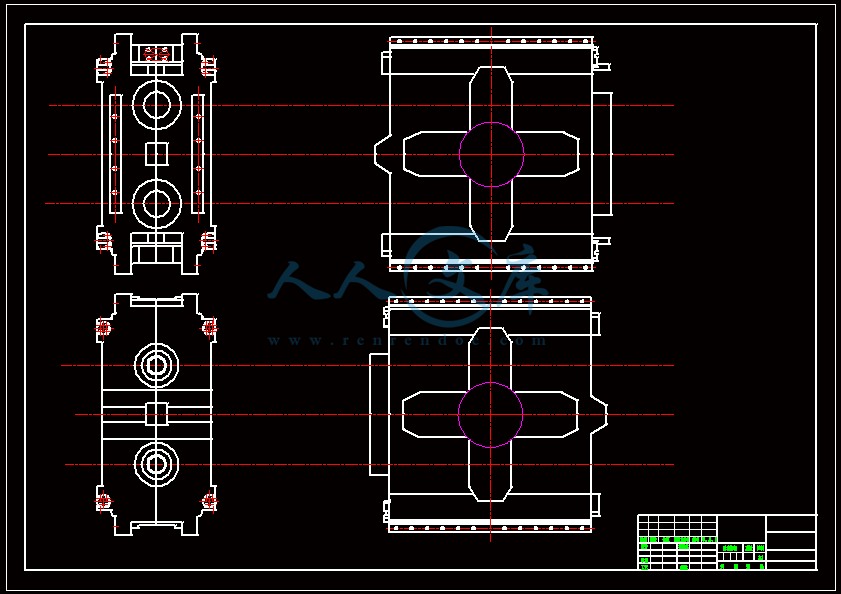
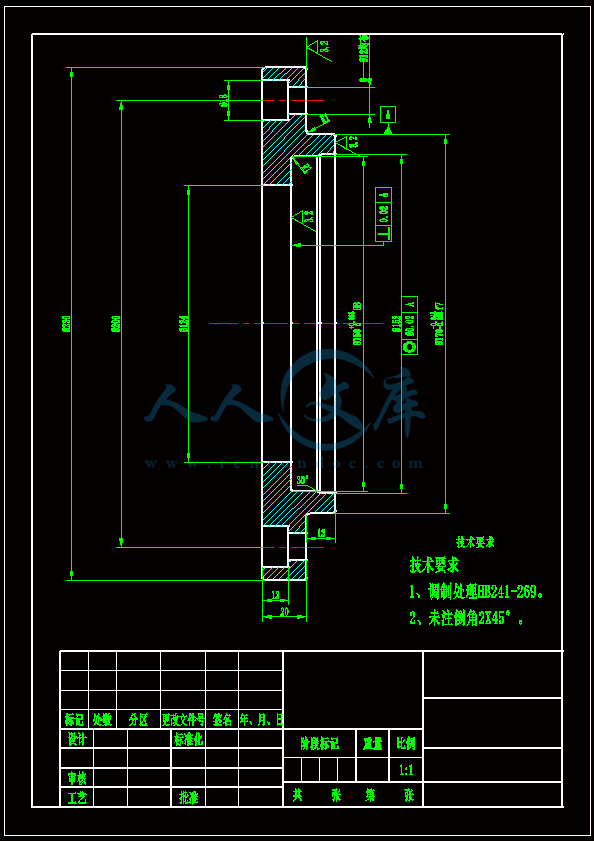
四辊方管
轧机
设计
全套
cad
图纸
- 资源描述:
-











- 内容简介:
-
E V I E WOpen AccessReview of vision-based steel surface inspection systems AbstractSteel is the material of choice for a large number and very diverse industrial applications. Surface qualities along with other properties are the most important quality parameters, particularly for flat-rolled steel products. Traditional manual surface inspection procedures are awfully inadequate to ensure guaranteed quality-free surface. To ensure stringent requirements of customers, automated vision-based steel surface inspection techniques have been found to be very effective and popular during the last two decades. Considering its importance, this paper attempts to make the first formal review of state-of-art of vision-based defect detection and classification of steel surfaces as they are produced from steel mills. It is observed that majority of research work has been undertaken for cold steel strip surfaces which is most sensitive to customers requirements. Work on surface defect detection of hot strips and bars/rods has also shown signs of increase during the last 10 years. The review covers overall aspects of automatic steel surface defect detection and classification systems using vision-based techniques. Attentions have also been drawn to reported success rates along with issues related to real-time operational aspects.Keywords: Steel surface inspection; Defect detection; Defect classification; Automated visual inspectionReview1. Introduction: importance of steel surface and its automated inspectionSteel is probably the most important of all metals in terms of its quantum and variety of use. Steel has contributed immensely towards the development of industrial society. In fact, consumption of steel is considered to be one of the yardsticks to judge the developmental status of a country. As per World Steel Association, production of crude steel during 2013 was 1,582 million tons (Mt), which is more than production figure of all other metals put together. Today, there are more than 3,500 grades of steel available out of which trade in flat steel products accounts for about 50%.An integrated iron and steel making plant produces liquid iron in blast furnace with iron ore, coke, sinter and flux as input. Liquid iron is converted to liquid steel with specified constituent by primary and secondary steel making processes. Liquid steel is continuously cast into slabs and billets. Slabs are of rectangular cross-sectionwith dimension of a typical slab being 1,600-mm-wide, 250-mm-thick and 12,000-mm-long. Billets are normally of square cross-section of about 150 150 mm and about 12,000-mm-long. Slabs are subsequently rolled into hot strips and then to cold strips. Billets are rolled into struc-tural of various dimensions. A simplified flow chart of steel making processes is shown in Figure 1.Importance of surface quality of steel products, par-ticularly that of cold-rolled steel assumed importance since 1980s primarily due to demands from automotive car makers. In course of time, hot strip surface quality, and in recent times, surface quality of structural products like rods/bars have assumed significant importance.Traditionally, surface quality of flat steel products, which are in coil form, is judged manually by cutting about 30 m of a random coil in a batch and inspected by an expert. Typically, in manual inspection, the inspected surface is about 0.05% of the total steel surface produced. In cold rolling mill complex, operators are sometimes stationed to inspect the finished product online for any defect. However, due to high line speed, fatigue and other adverse factors, inspection process is hardly satisfactory. Thus, the manual inspection process is not sufficient to guarantee defect-free surface of steel products withreasonable degree of confidence and naturally, need for automated surface inspection grew.In a significant development 1, nine steel companies and three aluminium companies in US started a research project in early 1980s on vision-based steel surface inspec-tion in collaboration with two commercial organisations. A prototype system was built and tested in several steel plants during 1987. At the same time, European companies also started working. Thus, from later half of 1980s, system-atic research work on surface inspection of steel products started. Today, vision-based automated surface inspection systems (ASIS) are produced by many reputed companies. Since 2006, an annual International Surface Inspection Summit (ISIS) is organised by a consortium of manufac-turers and others. Technology of vision-based automatic inspection of steel products, even though not 100% accurate has matured.This paper attempts to find out the status of development of vision-based ASIS for steel surfaces through review of published literature during the last two and a half decades.2. Complexities of steel surface inspection automationReal-time inspection of steel surfaces faces a number of challenges. The difficulties may be enumerated as follows:Hazardous site. The place for installation of inspec-tion equipment (illumination system, camera and some signal processing equipment), particularly, for hot roll-ing mills is very hazardous. Presence of high ambient temperature, dust, oil, water droplet and vapour is very common. Additionally, the illumination system and the cameras require protection against shock and vibration. Further, heavy equipment is moved in and out of site during daily, weekly and annual maintenance. All above factors necessitate the use of appropriate physical and environmental protective measures for site equipment.Operating speed. During regular production, operating speed of the surface to be inspected is generally high. For flat steel products, speed at the end of rolling, where the inspection equipment has to operate, is typically 20 m/s. For long products, particularly wire rods, speedcould be as high as 225 miles/h (100 m/s) 2. Real-time operation at such high speed requires special image pro-cessing equipment and software with small execution time.Varieties of surface defects in different steel products are reported to be very high 3. For example, Verlag Stahleisen 4 have categorised surface defects of hot-rolled products in nine main classes and 29 subclasses. These defects are not governed by any standard. Thus, their characteristics and classification vary from mill to mill and from operator to operator. Further, manifestation of these defects changes due to variations in production process.Large number of cameras. For flat steel products, two sets of inspection systems - one for top and another for bottom surface - are needed. Each of these sets in turn gen-erally consists of 3 to 4 cameras to cover the entire width of the strip. For long steel products, multiple cameras are to be located peripherally to ensure coverage of entire surface. For example, for a round product, at least three cameras are used while use of five cameras has been reported in the literature 5. Thus, gathering of images and their real-time processing is a daunting task.3. Prior literature reviewOver the years, a number of review papers 6-12 on vari-ous aspects of surface defect detection have been reported. Various aspects and methods for texture analysis have been reviewed in 13,14. Two comparatively recent review pa-pers are 6,7. Advances in surface defect detection using texture analysis techniques have been dealt with by Xie 6 covering applications in mainly textiles, tiles and wood. Kumar 7 has covered very comprehensively research work done in fabric surface defect detection and provided some valuable conclusions. Review papers particularly on texture defects and defects in fabrics also mention steel surface as a category where identified techniques can be applied. It is worth mentioning that as early as in 1982, 11 papers were listed under Inspection in Metal Processing Industry cat-egory in a review by Chin and Harlow 12. Gonzalez and Woods 15 provide an excellent theoretical background to all aspects of image processing, whereas theoretical basis for neural network-based classification is adequately cov-ered by Haykins 16. However, the authors could not locate any review of research work done in the field of steel surface defect detection and classification. Therefore, in this paper, attempt has been made to consolidate the published literature from academia, steel industry and manufacturers on the topic of automatic defect detection and classification of steel surfaces.4. Availability of research publications on automated vision-based steel surface inspectionAvailability of the published literature on steel surface in-spection mostly consists of research work done at various academic institutions, steel plants/steel plant researchunits and surface inspection equipment manufacturers. A number of research works have been published jointly by academic/research institutes and steel plants indicating good collaborative partnership. During the last 10 years, a significant percentage of published work on steel surface in-spection systems came from China. This is commensurate with Chinas dominant presence in steel manufacturing.Some papers have been published with reported research work mainly on defect classification aspects implemented in commercially procured systems. While overall systems and their benefits are well documented by reputed manu-facturers, details of defect detection and classification tech-niques are not elaborated, probably due to issues regarding intellectual property rights.5. Categories of steel surfacesTypes of steel surfaces studied for defect detection/classi-fication are: slab, billet, plate, hot strip, cold strip, rod/bar. They cover a large proportion of applications of steel as a material. cold strips, and off late, rod/bars have received more attention of researchers. This is mainly explained by the fact that large proportions of these products are finished product and quality requirements of customers have become more stringent over time.Broadly, steel surfaces can be categorised in flat and long products (Figure 2).Flat product surfaces can further be classified as follows: Slab/billet: both are produced by continuous casting process from liquid steel and have some similarity with respect to surface and internal conditions. Surface is scale covered and more grainy. Plates are produced by reheating a slab at about 1,250C and rolled subsequently. The surface is oxidised and comparatively even with respect to that of slab. Hot strips are produced by reheating a slab at about 1,250C and rolling in multiple rolling stands toreduce the thickness to desired value. The strip surface is oxidised. However, due to high rolling force, the surface granularity of hot strip is considerably reduced compared to slab. Cold strips are produced by rolling hot strips in cold rolling mill after pickling process (which removes the oxide layer and cleans the surface). Thus, the surface of cold strips is not oxidised, and the surface is quite smooth due to very high rolling forces used in cold deformation process. Coated strip (galvanised, tinned)/finished stainless strip surfaces are highly reflective in nature.Long product surfaces can further be classified as follows:Rods/bars are produced from billet by hot rolling process, and their surface is fairly oxidised. Further, the surface is also not flat, and therefore, angle of reflection varies towards the periphery thus producing nonuniform image intensity.Other long products like angles, channels, heavy struc-tural, rails etc. are produced from billet/bloom. They are of complex cross-section and require special lighting and camera arrangements.6. List of surface defects for steel productsThere is a large variety of surface defects for different steel products. Further, there is no agreed standard for defects. There is also large inter group similarity and intra group diversity 17 for various classes of defects, which makes defect classification difficult. Defect catalogues published by Verlag Stahleisen GmbH, Germany 4 act as defacto standards for this purpose.An attempt has been made to list some of the main de-fects which have been referred in the literature for surface defect detection and classification during the last two and a half decades. Defects have been listed vis-vis the categories of steel surfaces mentioned above.7. Key elements of automatic surface inspection system hardware structureFigure 3 shows the basic hardware structure of ASIS. It consists of one or more light source, one or more camera (bright field or both bright and dark field), fast image processor, server and the operator interface.7.1 Image acquisitionTo obtain satisfactory surface image quality, it is import-ant to illuminate the surface adequately and uniformly. In fact, high quality of illumination reduces computational burden of image processing. Two types of illumination techniques can be used for metallic surfaces: intensity im-aging and range imaging. 18-22 have discussed various aspects of illumination systems for metallic surfaces. Research on imaging systems for cold strips has been well documented in 23.Range imaging provides height information thereby making 3D defects prominent. Range imaging is not competitive to intensity imaging. In general, use of range imaging is not common in steel surface defect studies.Intensity imaging is primarily of two types: bright field and dark field. In bright field illumination, the sensor captures most of the directly reflected light. The surface appears bright, whereas the defect features appear darker. In dark field illumination, the angle of the incident light rays to the surface normal vector is very large. This results in a dark appearance of the surface, but some defects appear bright in the image. Dark field view requires more intense lighting. Requirement of about eight times compared to bright field lighting has been reported 21.Unfortunately, all surface defects do not show up either in bright field or in dark field alone. There are many examples of the use of two sets of cameras covering both the fields of view 24-26. Use of 20 charge-coupled device (CCD) area scan cameras which are used to capture surface image of both sides of hot-rolled strips using both bright field and dark field modes have been reported in aniron and steel plant of China 24. However, considering maintenance issues and system complexity, most of the systems place the cameras in between the bright field and dark field locations.7.2 Source of lightThe light source is required to provide uniform ripple-free light as far as possible. While ripple-free illumination calls for special arrangement of light power supply 27, provid-ing uniform intensity is not possible due to the use of more than one light source in majority of the cases. Figure 4 shows the variation of incident light intensity on to a steel surface using two xeon lights 28. Types of light source which are used in general are: wide spectrum tung-sten, fluorescent tubes, halogen, xeon and LED.7.3 Type of cameraIn general, high-resolution CCD cameras are used. Use of both line scan and area scan cameras has been reported in the literature. Line scan cameras have been widely used as it is easier to realise a strong and even illumination to the surface area to be inspected. The disadvantage with the line scan cameras is that they do not generate a complete image at once and requires an external hardware to build up images from multiple line scans 7. Most of the automatic surface inspection system manufacturers use line scan cam-era. For area scan cameras, the usage of transport encoder is optional and the inspection resolution in both directions is independent of the object (web) speed. However, while using area scan camera, special attention is needed to ensure even illumination of the total area under scan to the extent possible. High-resolution video cameras are also used as complimentary systems 30.7.4 Camera and image resolutionCamera resolution. Line scan camera resolution is generally 1,024(cross web) 1(down web) and 2,048 1 pixels. Yazdchi et al. 31 reported the use of 4,096 1 pixel camera. Manufacturers normally use 1,024/2,048/4,096 1 pixels. For area scan: 600 400 pixels have been reported by 32. In 33, 4,096 1,000 pixels have been used for slab.Image resolution. Various dimensions of image resolu-tions have been reported 24,26,31,33,34. Cross web reso-lutions vary from 0.17 mm to about 1 mm while reported down-web resolutions vary from 0.25 to 1.25 mm.7.5 Image processing computer hardwareImages captured by a CCD camera are transferred to some form of fast, parallel processing system dedicated to the camera and located close to it 24. The parallel processing system ensures real-time operation by processing bulk image data and selecting and storing regions of interest (RoIs). The parallel processing system could be a part of the camera itself, or a FPGA processor or a generalpurpose processor with special hardware. This part of the system is vitally important both from real-time operation as well as accuracy of defect detection and classification. Thereafter, a server with a large backup memory is used for further processing and for operators interface.8. List of defect detection and classification methodsVarious methods/techniques used for defect detection and classification of steel surfaces are listed in the litera-ture. Table 1 shows the list of different methods of de-fect detection vis-vis references obtained for this study. Types of steel surfaces have also been mentioned in the table. Techniques followed may broadly be cate-gorised as statistical, morphological, spatial domain filtering, frequency domain analysis, joint spatial/spatial-frequency analysis and fractal models. Spatial domain filtering, morphological operations and joint spatial/fre-quency domain filtering are found to be used extensively for all types of surfaces.Ultimate objective of surface inspection is to categorise defects in specified classes using classification tech-niques. As a process, classification starts after defects are localised by segmentation. At this stage, generally a number of features are extracted from regions of inter-est. Ideally, different combinations of these features are required to match uniquely with that of different types of defects. The matching is normally done using adap-tive learning methods such as neural network with back propagation (NN-BP), support vector machine (SVM)etc. Adaptive learning is of two types: a) supervised where the network is provided with a large number of known in-puts. Thereafter, the network produces the known outputs as closely as possible based on training. b) In unsupervised learning, the network is required to work out relationships between various inputs without being told.However, steel surface defects exhibit large inter group similarity and intra group diversity . Thus, finding suitable features and identifying classifiers with low computational cost are the major areas of research activ-ity. Table 2 shows the list of classification methods with respect to references and types of surface.ConclusionsThis paper dealt with review of automated inspectionmethods for steel surfaces using image processing techniques.Review of publications over two and a half decadeshas provided an idea of recent advances that have takenplace in this field.Main observations are as follows:a) Due to harsh environment of a steel mill, specialattention is required for design of illumination andimaging systems.Steel surface images are reportedto contain large amount of noise due to surfacescale, vibration, improper/variable illumination,presence of pseudo defects etc. Surface defects areof irregular shape and their type and characteristicsvary significantly from one mill to another.Characteristics of defects are also dependent onconditions of manufacturing.b) Published literatures indicate that relatively moreimportance has been given to detection of defectsfor cold strip surfaces.Recently, attention is alsofocussed on surfaces of hot strips and bars/rods.A large variety of techniques, both in spatial andfrequency domains, have been applied for defectdetection.Often, combination of several techniqueshas provi
- 温馨提示:
1: 本站所有资源如无特殊说明,都需要本地电脑安装OFFICE2007和PDF阅读器。图纸软件为CAD,CAXA,PROE,UG,SolidWorks等.压缩文件请下载最新的WinRAR软件解压。
2: 本站的文档不包含任何第三方提供的附件图纸等,如果需要附件,请联系上传者。文件的所有权益归上传用户所有。
3.本站RAR压缩包中若带图纸,网页内容里面会有图纸预览,若没有图纸预览就没有图纸。
4. 未经权益所有人同意不得将文件中的内容挪作商业或盈利用途。
5. 人人文库网仅提供信息存储空间,仅对用户上传内容的表现方式做保护处理,对用户上传分享的文档内容本身不做任何修改或编辑,并不能对任何下载内容负责。
6. 下载文件中如有侵权或不适当内容,请与我们联系,我们立即纠正。
7. 本站不保证下载资源的准确性、安全性和完整性, 同时也不承担用户因使用这些下载资源对自己和他人造成任何形式的伤害或损失。

人人文库网所有资源均是用户自行上传分享,仅供网友学习交流,未经上传用户书面授权,请勿作他用。
 川公网安备: 51019002004831号