说明书.doc

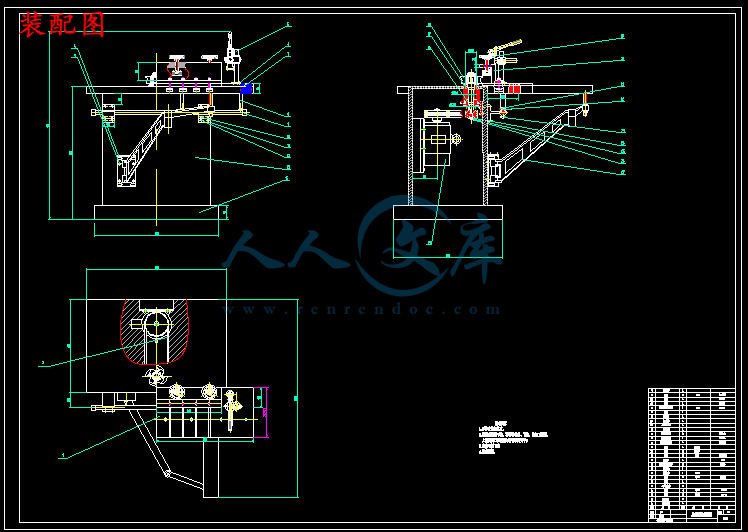
压花镜框专用成型铣削机设计[含CAD图纸和说明书 全套打包]

收藏

压缩包内文档预览:(预览前20页/共39页)
预览图 预览图 预览图 预览图 预览图 预览图 预览图 预览图 预览图 预览图 预览图 预览图 预览图 预览图 预览图 预览图 预览图 预览图 预览图 预览图
编号:19744137    类型:共享资源    大小:3.51MB    格式:ZIP    上传时间:2019-06-07 上传人:好资料QQ****51605 IP属地:江苏
50
积分
关 键 词:
含CAD图纸和说明书 全套打包 压花镜框专用成型铣削机设计[含CAD图纸和说明书 全套打包]
资源描述:

【温馨提示】 购买原稿文件请充值后自助下载。

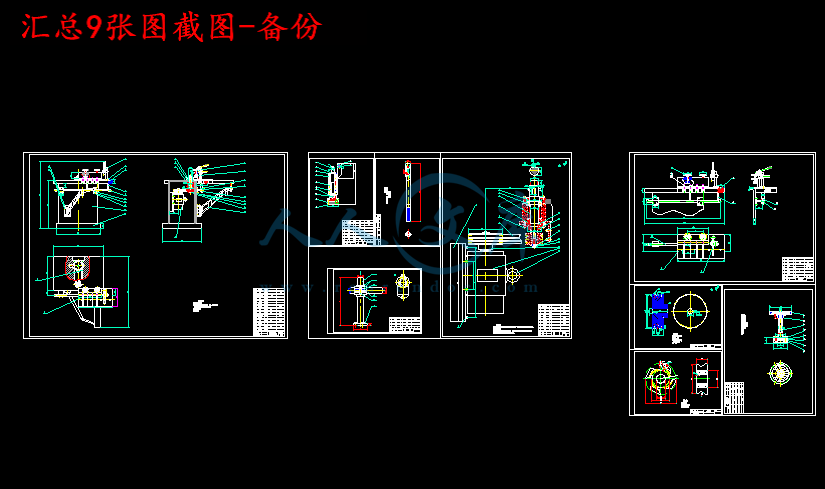
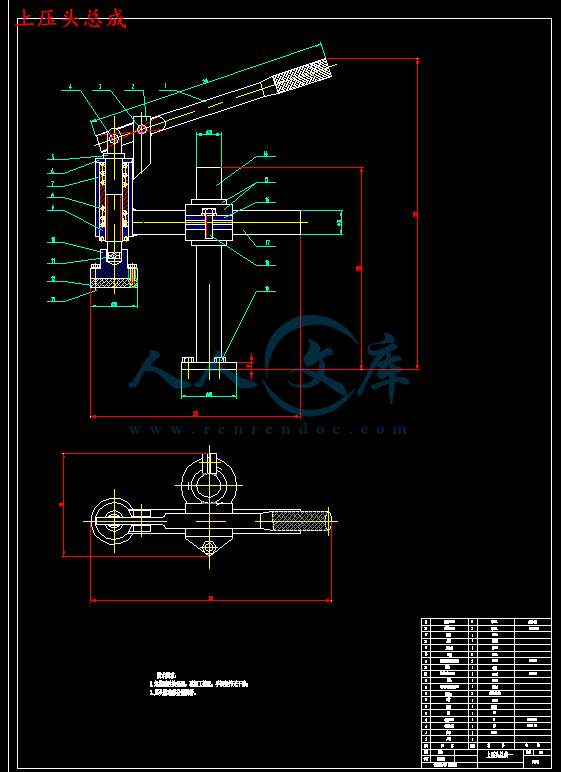
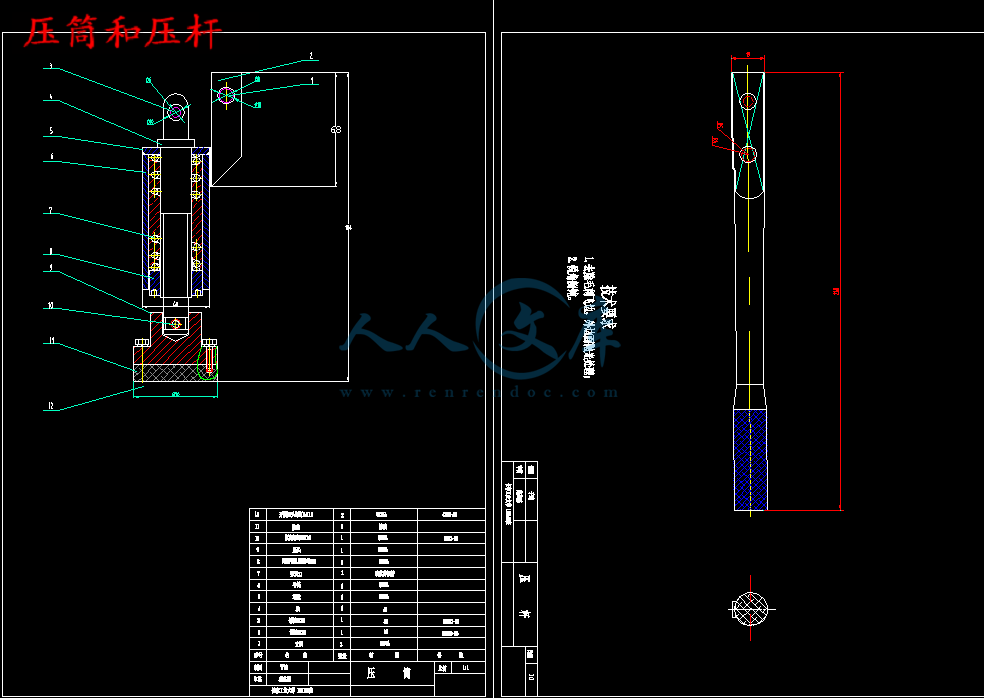
以下预览截图到的都有源文件,图纸是CAD,文档是WORD,下载后即可获得。


预览截图请勿抄袭,原稿文件完整清晰,无水印,可编辑。

有疑问可以咨询QQ:414951605或1304139763

摘  要

   压花镜框成型机是电机通过V带带动成型铣刀转动,通过夹紧装置夹紧工件、滑动控制台进行前后的铣削加工镜框的过程。压花镜框成型机在国内的应用已经十分广泛,因此前人在这方面已经积累了许多宝贵的经验。设计的过程中,在充分了解和学习前人的设计经验的同时,积极思考,努力发现新问题并进行创新设计,力求通过设计锻炼发现问题、分析问题、解决问题的能力。

   本设计压花镜框成型机是由滑动控制台、三相异步电动机、铣削装置及各种夹紧压头组成。通过夹紧装置固定镜框材料,在滑动控制台完成铣削。经过文献的阅读了解压花镜框成型机的基本构造,能够较好的完成设计要求。

   本设计在可行性分析基础上,确定了压花镜框成型机的总体机构方案,完成了各个部分的结构拟定和结构设计。


关键词:滑动;成型;夹紧;带传动;铣刀加工


Title:Design of Embossing Frame Forming Machine

Abstract

   Embossing frame forming machine gets the driving force from motor frame through the V belt to driven rotating cutter shape, clamping devices, through the sliding console to the frame before and after the milling process The design process, in full knowledge and learning experience in the design of their predecessors at the same time, positive thinking, and strive to find new and innovative design, and strive to discover problems through the design of training, analysis, problem-solving abilities.

   The design of embossing machine frame by sliding the console, three-phase asynchronous motor, milling devices and the first composed of a variety of clamping pressure. After reading the literature to understand embossing machine frame the basic structure, to better complete the design requirements.

   The feasibility of the design basis of the analysis to determine the embossing machine frame of the overall agency program, the completion of the various parts of the structure of the development and structural design.


Key words: Sliding ;Forming; Clamping; Belt Drive; Milling processing


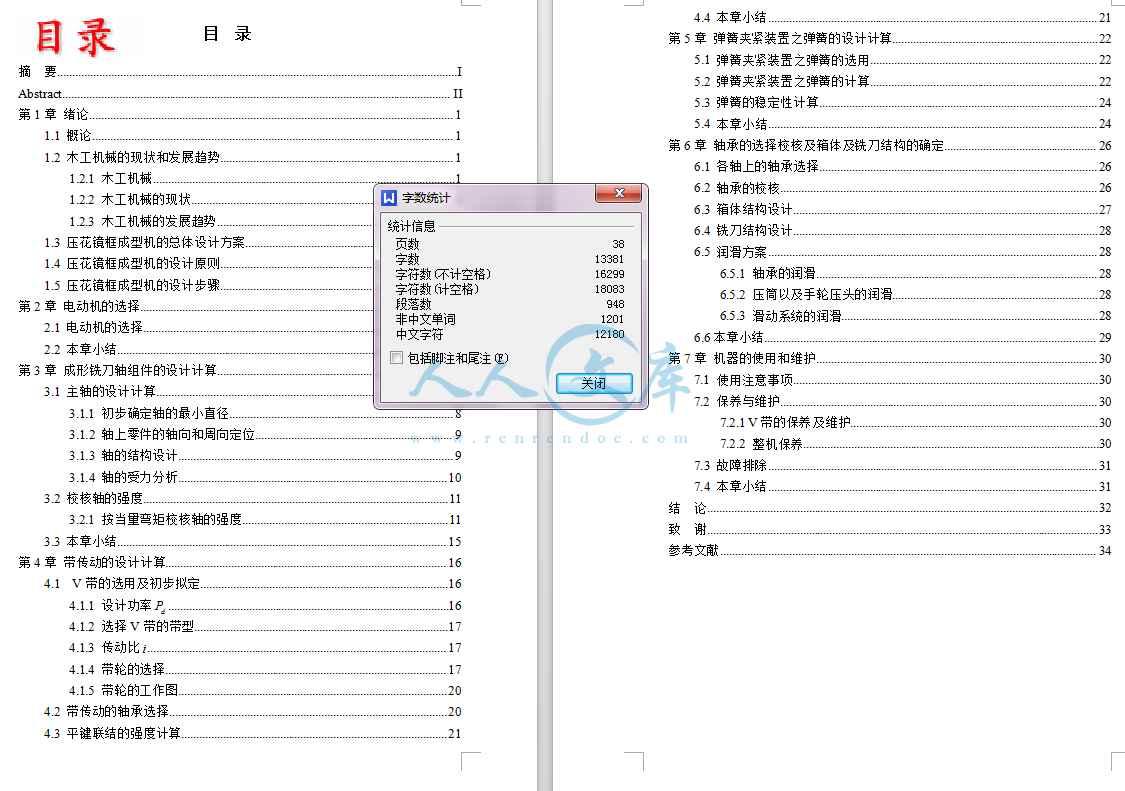
目  录

   摘  要 I

   Abstract II

   第1章 绪论 1

   1.1 概论 1

   1.2 木工机械的现状和发展趋势 1

   1.2.1 木工机械 1

   1.2.2 木工机械的现状 1

   1.2.3 木工机械的发展趋势 2

   1.3 压花镜框成型机的总体设计方案 3

   1.4 压花镜框成型机的设计原则 4

   1.5 压花镜框成型机的设计步骤 4

   第2章 电动机的选择 6

   2.1 电动机的选择 6

   2.2 本章小结 7

   第3章 成形铣刀轴组件的设计计算 8

   3.1 主轴的设计计算 8

   3.1.1 初步确定轴的最小直径 8

   3.1.2 轴上零件的轴向和周向定位 9

   3.1.3 轴的结构设计 9

   3.1.4 轴的受力分析 10

   3.2 校核轴的强度 11

   3.2.1 按当量弯矩校核轴的强度 11

   3.3 本章小结 15

   第4章 带传动的设计计算 16

   4.1  V带的选用及初步拟定 16

   4.1.1 设计功率 16

   4.1.2 选择V带的带型 17

   4.1.3 传动比 17

   4.1.4 带轮的选择 17

   4.1.5 带轮的工作图 20

   4.2 带传动的轴承选择 20

   4.3 平键联结的强度计算 21

   4.4 本章小结 21

   第5章 弹簧夹紧装置之弹簧的设计计算 22

   5.1 弹簧夹紧装置之弹簧的选用 22

   5.2 弹簧夹紧装置之弹簧的计算 22

   5.3 弹簧的稳定性计算 24

   5.4 本章小结 24

   第6章 轴承的选择校核及箱体及铣刀结构的确定 26

   6.1 各轴上的轴承选择 26

   6.2 轴承的校核 26

   6.3 箱体结构设计 27

   6.4 铣刀结构设计 28

   6.5 润滑方案 28

   6.5.1 轴承的润滑 28

   6.5.2 压筒以及手轮压头的润滑 28

   6.5.3 滑动系统的润滑 28

   6.6本章小结 29

   第7章 机器的使用和维护 30

   7.1 使用注意事项 30

   7.2 保养与维护 30

   7.2.1 V带的保养及维护 30

   7.2.2 整机保养 30

   7.3 故障排除 31

   7.4 本章小结 31

   结  论 32

   致  谢 33

   参考文献 34


第1章 绪论

1.1 概论

   压花镜框是镜框的一种,一般以木材为原材料,比普通镜框的厚度尺寸稍大,适用于压花的装饰作用。

   压花镜框可以由铣刀铣削加工成型或者由雕刻机雕刻成型。雕刻机加工的速率相对较慢,但可以雕刻成多种花纹形状,外形精美,是生产压花镜框不可缺少的设备,在市场上可以找到多种型号的木工雕刻机用于雕刻压花镜框。本课题准备设计出适用于压花镜框的铣削成型机,以镜框的加工要求为基础,设计出低成本、高效率的专用压花镜框成型机。

   压花生产线包括进料部分、模压部分、出料部分、镜框成型、组装部分等等。其中,压花镜框成型机是压花生产线中的重要组成部分,能使压花生产线可以解决当前压花制作的机械化和自动化问题,从而降低压花成本,使其成为人们生活中的低价销费品,让更多的人们能够买得起压花产品。

内容简介:
Int J Adv Manuf Technol (2001) 18:399403 2001 Springer-Verlag London Limited A New NC Machine Tool Controller for Step-by-Step Milling J. Balic University of Maribor, Faculty of Mechanical Engineering, Intelligent Manufacturing Laboratory, Maribor, Slovenia The paper describes the design solution, operation and analysis of a new NC controller for a new step-by-step milling pro- cedure. A step-by-step milling device ensures that the milling of workpieces by end or conical milling cutters, where the ratio between the depth of milling a (mm) and the milling cutter diameter D (mm) is greater than 1.5 (a/D ? 1.5) results in the increased wear resistance of the cutting edge. Breaking of the milling cutter is minimised and is not frequent and the milling forces are reduced, which results in smaller defl ections of the milling tool and higher accuracy of machining. The machine tool use is better. Keywords: NC machine tool controller; Step-by-step milling 1.Introduction Technological problems occur when machining some compo- nents using end or conical milling cutters of small diameters at large cutting depths. According to the recommendation of tool manufacturers the depth of milling should be within the range of 11.5 D, where D is the milling cutter diameter. Frequently, the depth of milling required for the manufacture of the parts may be as much as 6D. This problem is particularly severe when machining parts (dies and moulds) with a conical milling cutter (cutting depths is 4D, conical angle 3 to 6), where rough milling with a special rough milling tool is not possible and in the case of machining dies (the material of the dies is steel according to DIN 1.23430.4% C, 1% Si, 5% Cr, 1.3% Mo, 1% V), for the extrusion of aluminium bars, pipes, and beams. 2.State of the Art and Existing Solutions The state-of-the-art technology in the area of machining offers satisfactory solutions for almost all types of machining. The Correspondence and offprint requests to: Professor J. Balic, Laboratory for Intelligent Manufacturing, University of Maribor, Faculty of Mech- anicalEngineering,Smetanova17,SI-2000,Maribor,Slovenia. E-mail: joze.balic?uni-mb.si main problem arises when, for the industrial use, it is necessary to optimise the choice of technological solutions with respect to the manufacturing time, resistance to tool wear, quality of surface, geometrical precision and manufacturing costs. The literature contains some solutions concerning this area for ensuring higher quality of NC milling 111. That literature contains discussions of step-by-step milling carried out by tools of special shapes. For each shape to be made by step-by-step milling, a specially shaped tool is used. In this process the programmed motion of the tool does not change, only the manufactured shape changes, infl uenced by the predeterminated step shape of the milling cutter. The US patent 12 proposes a very high-speed adiabatic face milling machine. The effi ciency of the chip removal system is such that chip recutting is nearly eliminated and the tool life is improved. This solution required a new machine tool and a high investment. The above mentioned devices and methods for milling do not include the new solution for step-by-step milling described in the paper. 3.Step-by-Step Milling Method The step-by-step milling method features the step motion of the milling cutter (f1) in the direction of cutting and the related Fig. 1. Milling by the step-by-step procedure. a, depth of milling; f1, motion in the direction of machining; f2, motion in the direction opposite to machining; D, diameter of milling cutter. 400J. Balic Fig. 2. New tool path generated along the programmed trajectory. f1, motion in the direction of machining; f2, motion in the direction opposite to machining; Pst-t, start-point of the motion trajectory; Pend- t, end-point of the motion trajectory; Pst, start-point of each movement forward; Pend, end-point of each deviation; Pint, intermediate point (end-point of the previous deviation and start-point of the next movement). movement of the milling cutter (f2) in the direction opposite to the cutting direction (Fig. 1) 13,14. 4.NC Machine Tool Controller 4.1Description and Operation The step-by-step NC control consists of an input communi- cation module, a generator of the step code, an appropriate control program, an output communication module and a microprocessor. The generated path of the milling cutter is such that a ratio of the depth and milling cutter diameter of up to 5D is achieved, which cannot be achieved using conven- tionally controlled milling machines. Fig. 3. Flowchart for the generation of a new tool path. 1, reading of input NC sentence; 2, start of the block; 3, identifi cation of functions G17, G18, G90, G91; 4, transformation of the system of coordinates; 5, defi nition of parameters f1 and f2; 6, rapid movement (G00); 7, writing record of NC sentence; 8, end-point of trajectory Pend-t ? f1; 9, movement to pend-t; 10, generation of movement f1 and f2; 11, writing record of the sentence for approaching and deviation; 12, transformation of coordinates; 13, writing record of the sentence; 14, the last sentence. The device reads the program lines of the CNC program for a certain product, identifi es the desired start-point Pst-t (Fig. 2) and end-point (Pend-t) of the step-by-step machining process and its parameters f1 and f2. The parameter f1 is the motion in the direction of machining, the parameter f2 is the motion in the direction opposite to machining and a is the depth of cut. The parameters f1 and f2 were determined by extensive tests in the laboratory and in real-time production and assure all the advantages of step-by-step machining. The optimal values found were f1 = 0.20.8 mm, f2 = 0.050.4 mm, and the two parameters must fulfi l the condition f1 ? f2; the stoppage time Ts= 0.011 s. Then the device transforms the values of the current position of the tool so that it corresponds to the desired limit values, and to the requirements of the new step-by-step milling method. The generated path characteristic of the device, based on the invention 13,14, is a cyclic repetition of the step motion in the program trajectory. The tool moves f1 in the predetermined (desired)direction,stopsinthatpositionforthevalue Ts= 0.011 s and then moves f2 in the opposite direction. This step motion is repeated along the specifi ed trajectory of the tool motion. 4.2Computer Algorithm The NC controller automatically performs the transformation of the tool motion and coordinates. Fig. 4. Methods of incorporation of the stepbystep controller into the CNC unit of a machine tool (the layout of the CNC control unit is taken from 15). 1, manual input; 2, input with punching tape; 3, 4, decoding; 5, computer; 7, positions memory (x,y,z,. . .); 8, functions memory (S, T, M,. . .); 9.1, step-by-step unit (in computer); 9.2, step- by-step unit (before memory); 9.3, step-by-step unit (before NC input); 10, interpolator; 11, function execution unit; 12, interpolated data fl ow; 13, comparison unit; 14, 15, conversion unit; 16, CNC unit, 17, position data; 18, measuring data; 19, functions data; 20, machine tool; 21, interface; 22, tacho-generator; 23, stepping (or servo) motor. New NC Machine Tool Controller401 Fig. 5. Workpieces and direction of machining. The computer model of the solution is based on the following assumptions and requirements: Machining without correction (G40). The programmer programs the NC machining “conventionally”; the start and the end of step-by-step machining are determined by two records in text form. The program comprises the machining functions G17 and G18. The program recognises all the functions having an infl uence on the machining process (G90, G91, G54 G59, G00, G01, G02, G03). Fig. 6. Graphical representation of forces. The program includes simultaneous machining of all three coordinates (x, y, z). The program changes only the statements inside the marked block. Renumbering of statement numbers. Creation of output data fi le. The program contains checking of machining correction. The algorithm of operation for the computer program is shown in Fig. 3. Checking of the deviation from the desired positions is performed automatically. 4.3Methods of Incorporation into Existing NC Control Units The control can be incorporated onto the milling machine in three ways (Fig. 4): Into the milling machine tool control unit, between the memory of positions and the interpolator as shown by position 9.1. Into the NC control unit closely behind the reading-in of data module, as shown by position 9.2. Before the NC control unit where it intercepts the input data of the NC program and suitably processes them, as shown by position 9.3. 5.Experiments and Tests 5.1General Tests with the step-by-step device were carried out for milling by the conventional and the new methods. The tests were executed in the laboratory 16 and in the real production of tools for the extrusion of aluminium 17. A horizontal 4-axis machining centre (Heller BEA-05) with a pallet system and a tool magazine was used. Tool clamping was performed with ISO 50 clamping cones. Machining of workpieces was horizontal (G17). A Kistler measuring device for measuring cutting forces was fi xed to the machining centre table. The measuring equipment and the software used for processing the measurement results had been developed at the Faculty of Mechanical Engineering in Maribor 18, 19. The test material was aluminium AlMgSil (AC30T6 pro- ducers factory designation) and steel with the designation according to DIN standard 1.2343. Table 1. Two planned tests for tool wear resistance for aluminium AlMgSil. ToolDepthSpindleFeedStep of cutspeed(mm min1) (mm)(min1) 10620g20pg 1A15200080Off 1A152000240On 1A40150030On 1A40150020Off 402J. Balic Fig. 7. Deviation of the real shape (dotted line) from the ideal shape (solid line). Conventional milling process: (a) slot 3.1; (b) slot 3.2. Step-by-step milling: (c) slot 6.1; (d) slot 6.2. Table 2. Measuring of surface roughness. MaterialAlMgSi1 ProcedureStep offStep on Workpiece3.1(break) Measurements Ra14.144.286.98 Ra26.105.684.55 Ra311.515.176.80 Ra44.993.734.31 Results Ra6.68504.71505.6600 ?n2.87110.75791.2345 ?n13.31520.87511.4255 For machining we selected four types of KESTAG end milling cutters of cutter material: HSSCo8 (of diameters 10 mm, 47 mm conical, 20 mm and 20 mm for rough machining). The depths of milling were 1.5 D4 D. Cooling by emulsion was used. The lengths of cutter paths for each test piece were two cuts of 50 mm long. The shapes of the machining and the workpieces are shown in Fig. 5. Fig. 8. (a) Conventional milling; (b) step-by-step milling. The plan of tests for measuring the cutting forces and the selected parameters are given in Table 1. The tests comprised the measurements of cutting forces, wear, and resistance to wear, of the tool cutting edge, geometrical accuracy of machin- ing, roughness of machined surfaces, and visual analysis of workpieces. 5.2Analyses of Cutting Forces Average values of the measured Fx, Fy, and Fzwere calculated. Maximum forces were determined and the standard deviation of cutting forces was calculated; then the results were diagram- matically evaluated for the average cutting forces, maximum cutting forces, standard deviation of cutting forces, feeding and cutting speeds (Fig. 6). 5.3Measurement on the 3D Coordinate Measuring Machine Measurements of the shapes of the slots were carried out in the laboratory on a UMC 850 (universal measuring centre) for all workpieces, and then compared with the ideal and/or desired shape of the slot. A programming package KUMVDA, which New NC Machine Tool Controller403 automatically senses the points of the desired curve was used. Figure 7 shows the deviation of the real shape (dotted line) from the ideal shape (solid line) of the slot in the conventional process and when milling with the step-by-step method. 5.4Roughness The measurements of the surface roughness were carried out by means of a MITUTOYO SURF TEST 211. The results are processed by the mini processor DIGMATIC DP1-HS. The measurement results are given in Table 2 and show the differ- ence between the surface roughness in the case of the conven- tional milling process and that of step-by-step milling. 5.5Visual Analysis The results of conventional and step-by-step milling can be seen in Fig. 8. 6.Conclusion By using the step-by-step milling device, ratios of the depth and the diameter of the milling cutter of up to 5D were achieved. These cannot be achieved on conventionally con- trolled milling machines. This method can machine components which previously could not be machined. The research shows that when step-by-step milling with the same machining para- meters, the cutting forces on the tool cutting edge are smaller, the defl ection of the milling cutter is also smaller and the geometrical precision of machining is greater. These are posi- tive “side” effects of the use of the step-by-step milling device. The device mentioned is particularly useful in the tool and metal-processing industry where a large removal of material is required and the products have complicated shapes. It could be incorporated as an integral part in a system for cutting condition optimisation 20. References 1. A. Klimov, B. Krutov, A. Korolev et al., Face step milling cutter, Patent number: SU1558573, 1990. 2. V. Baranchikov, A. Zaharinov, O. Ivashkovich et al., Face step milling cutter, Patent number: SU1207651, 1986. 3. V. I. Malygin, V. V. Matvejkin, A. D. Shustikov et al., Face and end step milling cutter, Patent number: SU1053983, 1983. 4. J. H. Roettger, Milling cutter with step-by-step radially dis- placeable cutting elements, preferably for working wood and similar nonferrous metals, Patent number: DE3625234, 1988. 5. N. Kuraoka, Step cutting type milling cutter, Patent number: JP58217211, 1983. 6. E. Feldcamp, Improvements in or relating to milling machines, Patent number: GR63578, 1979. 7. P. M. Coetzee, Milling apparatus, Patent number: ZA8400630, 1984. 8. M. C. Turchan, Milling system, Patent number: US5803683, 1998. 9. H. Pauser, Programme-controlle
温馨提示:
1: 本站所有资源如无特殊说明,都需要本地电脑安装OFFICE2007和PDF阅读器。图纸软件为CAD,CAXA,PROE,UG,SolidWorks等.压缩文件请下载最新的WinRAR软件解压。
2: 本站的文档不包含任何第三方提供的附件图纸等,如果需要附件,请联系上传者。文件的所有权益归上传用户所有。
3.本站RAR压缩包中若带图纸,网页内容里面会有图纸预览,若没有图纸预览就没有图纸。
4. 未经权益所有人同意不得将文件中的内容挪作商业或盈利用途。
5. 人人文库网仅提供信息存储空间,仅对用户上传内容的表现方式做保护处理,对用户上传分享的文档内容本身不做任何修改或编辑,并不能对任何下载内容负责。
6. 下载文件中如有侵权或不适当内容,请与我们联系,我们立即纠正。
7. 本站不保证下载资源的准确性、安全性和完整性, 同时也不承担用户因使用这些下载资源对自己和他人造成任何形式的伤害或损失。
提示  人人文库网所有资源均是用户自行上传分享,仅供网友学习交流,未经上传用户书面授权,请勿作他用。
关于本文
本文标题:压花镜框专用成型铣削机设计[含CAD图纸和说明书 全套打包]
链接地址:https://www.renrendoc.com/p-19744137.html

官方联系方式

2:不支持迅雷下载,请使用浏览器下载   
3:不支持QQ浏览器下载,请用其他浏览器   
4:下载后的文档和图纸-无水印   
5:文档经过压缩,下载后原文更清晰   
关于我们 - 网站声明 - 网站地图 - 资源地图 - 友情链接 - 网站客服 - 联系我们

网站客服QQ:2881952447     

copyright@ 2020-2025  renrendoc.com 人人文库版权所有   联系电话:400-852-1180

备案号:蜀ICP备2022000484号-2       经营许可证: 川B2-20220663       公网安备川公网安备: 51019002004831号

本站为文档C2C交易模式,即用户上传的文档直接被用户下载,本站只是中间服务平台,本站所有文档下载所得的收益归上传人(含作者)所有。人人文库网仅提供信息存储空间,仅对用户上传内容的表现方式做保护处理,对上载内容本身不做任何修改或编辑。若文档所含内容侵犯了您的版权或隐私,请立即通知人人文库网,我们立即给予删除!