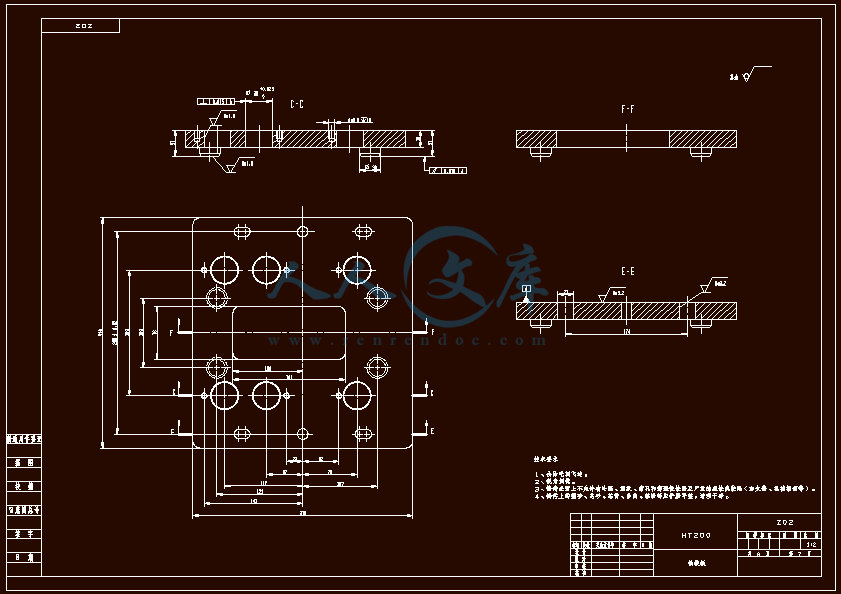
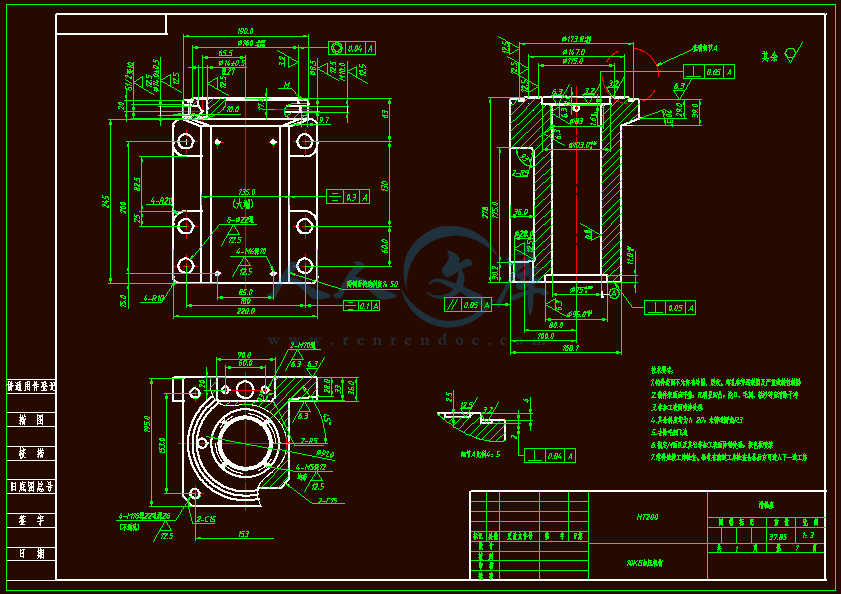
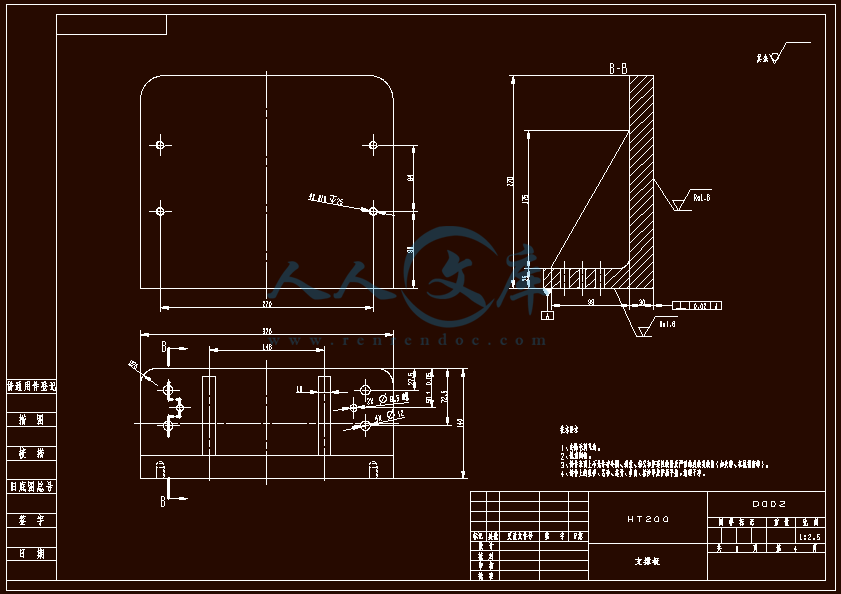
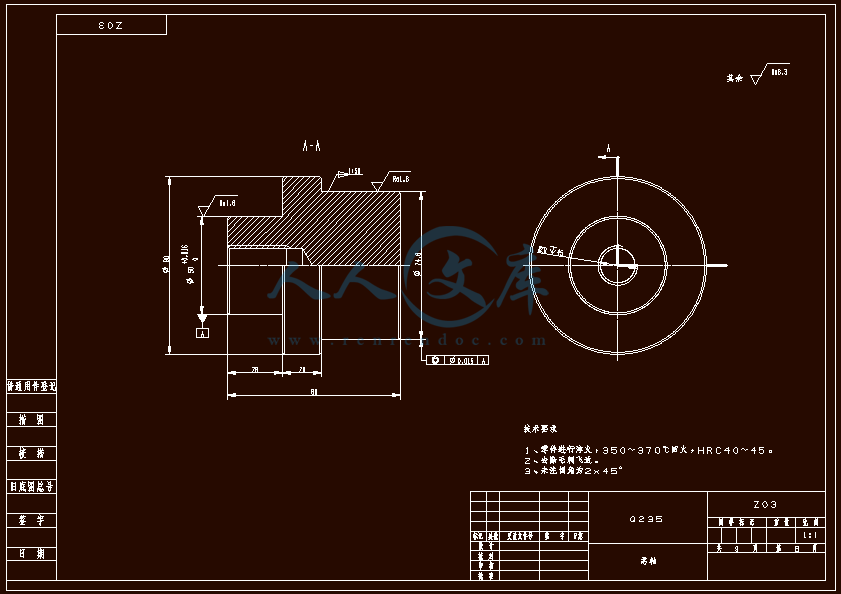
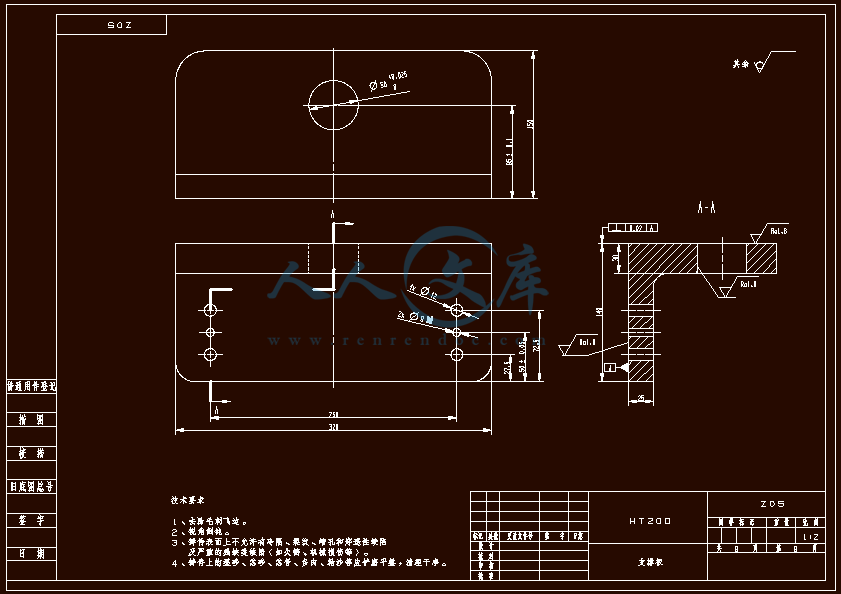
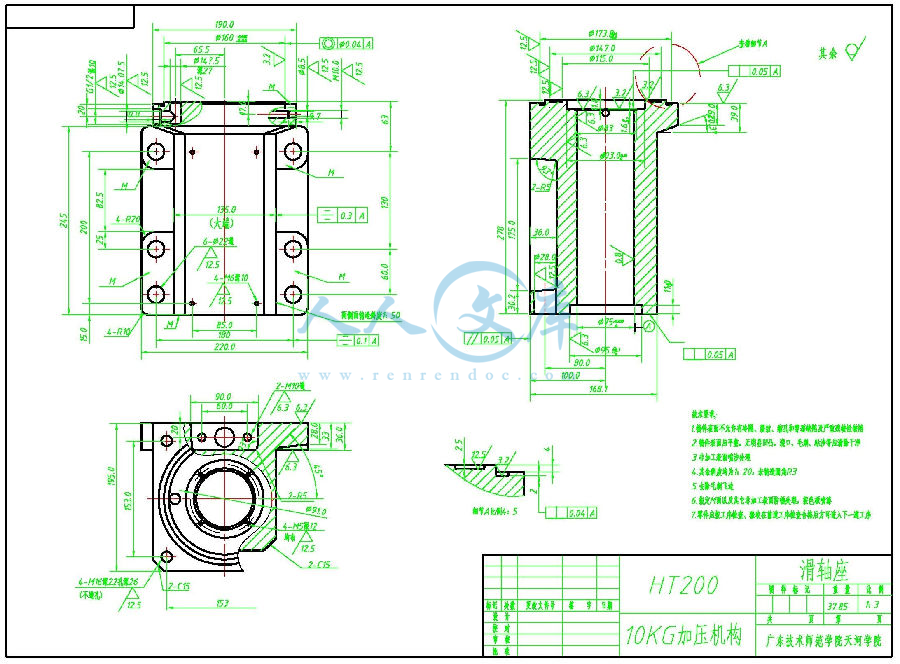
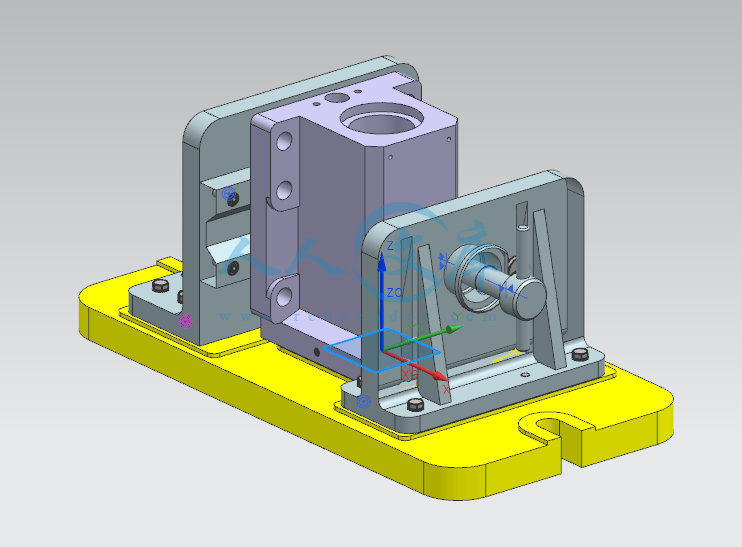
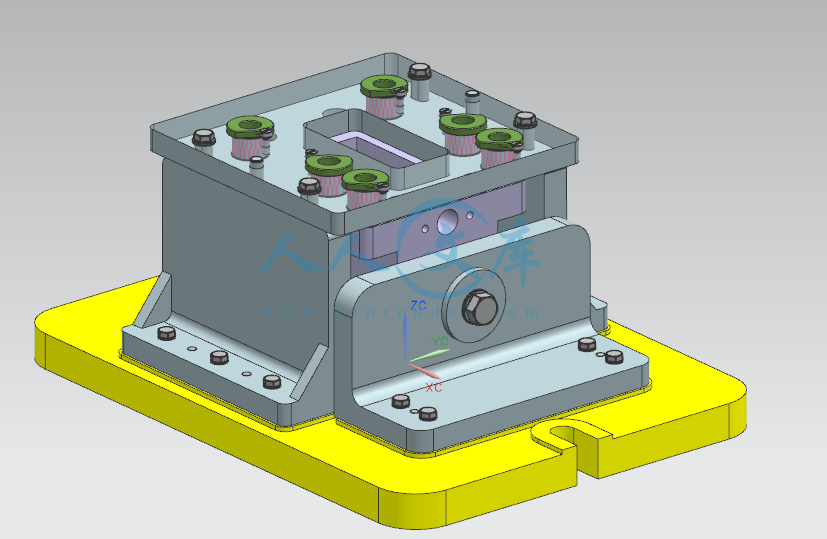
设计滑轴座工艺规程和铣底面铣床夹具与钻6-φ22孔的钻模夹具 滑轴座工艺工装夹具设计(铣和钻)【全套含有CAD图纸三维建模】
收藏
资源目录

压缩包内文档预览:
编号:6120373
类型:共享资源
大小:18.65MB
格式:ZIP
上传时间:2017-11-23
上传人:机****料
认证信息
个人认证
高**(实名认证)
河南
IP属地:河南
20
积分
- 关 键 词:
-
设计
滑轴座
工艺
规程
以及
底面
铣床
夹具
22
工装
全套
含有
cad
图纸
三维
建模
- 资源描述:
-
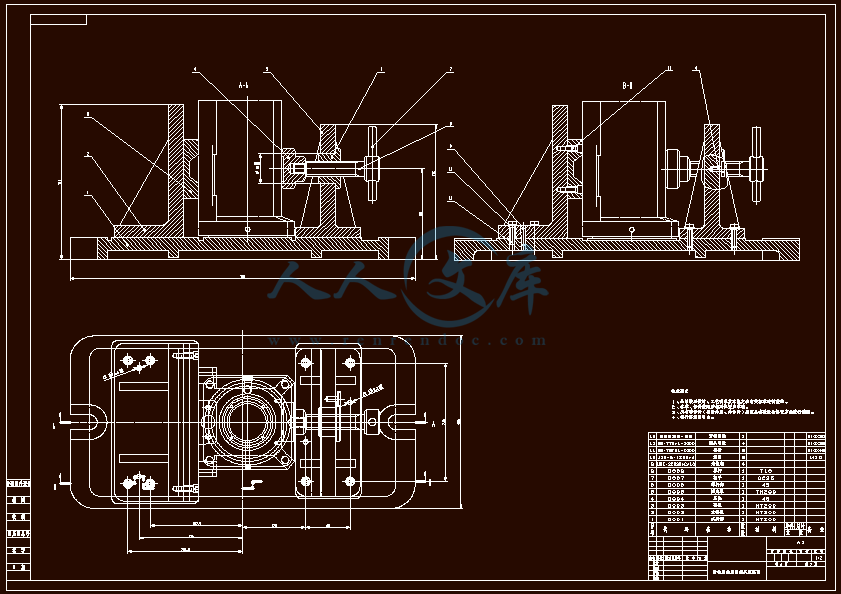
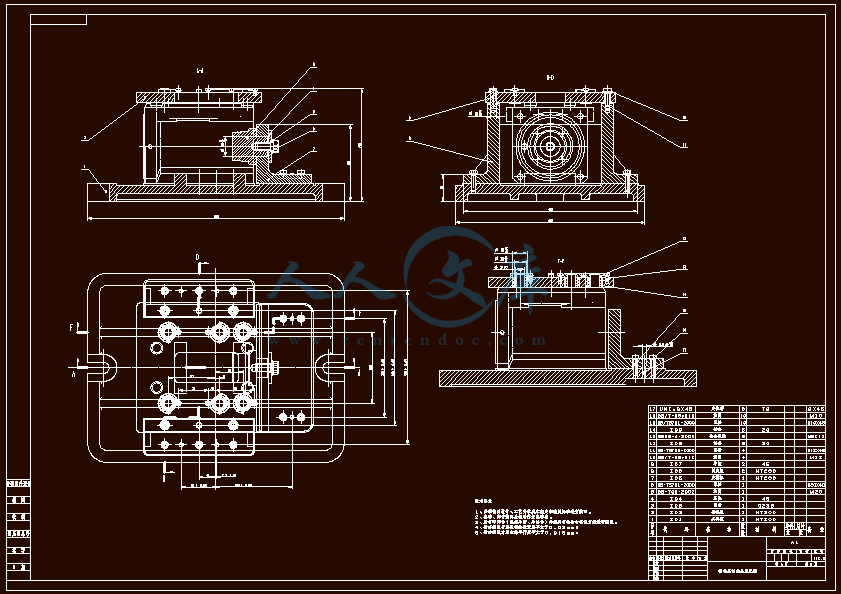
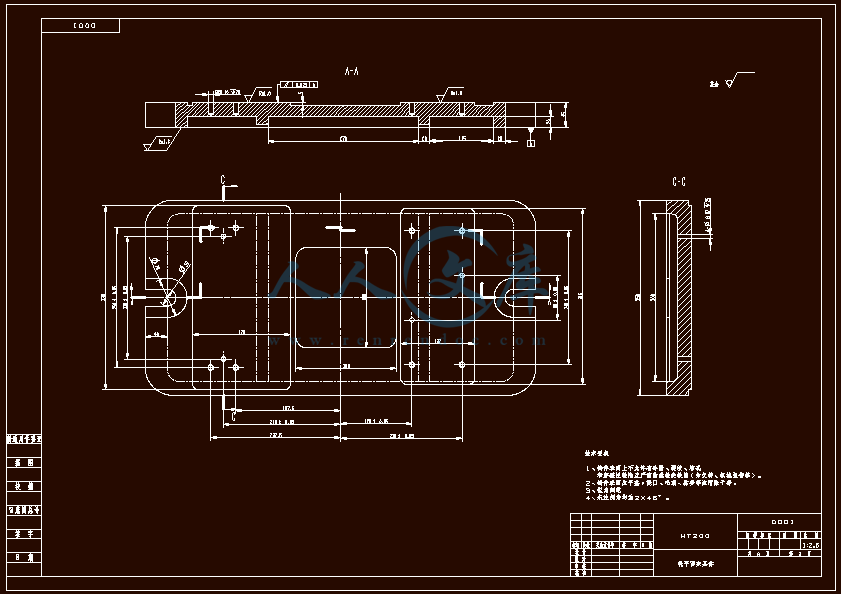
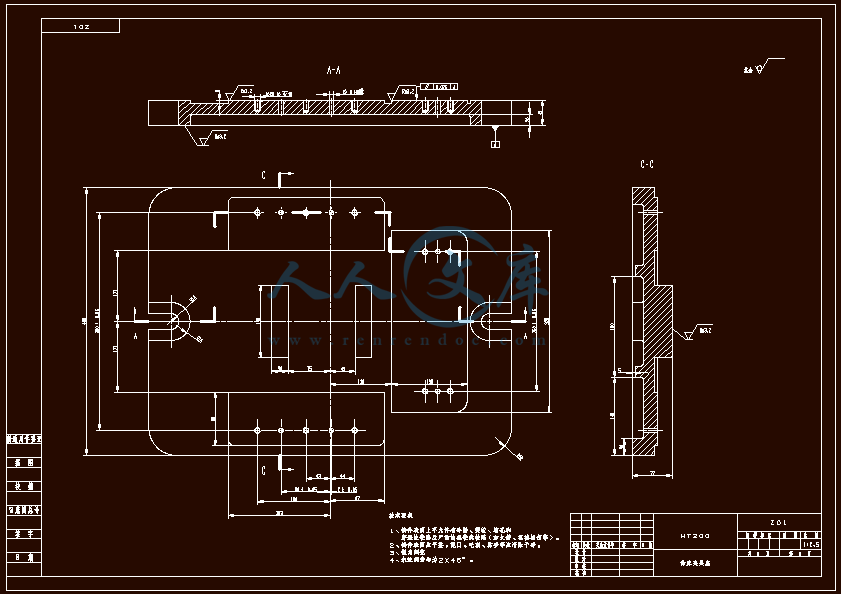



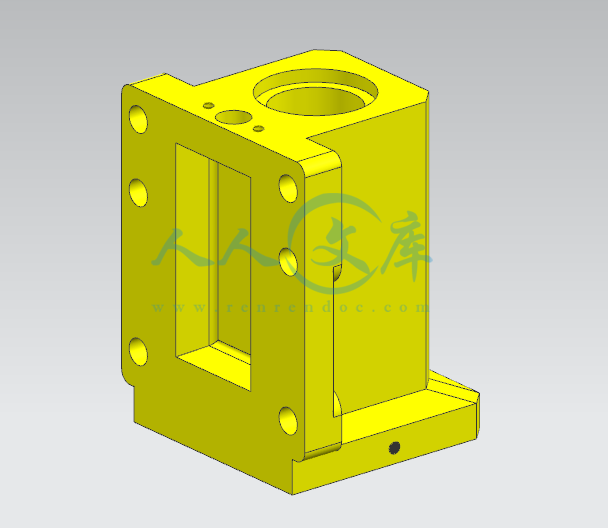
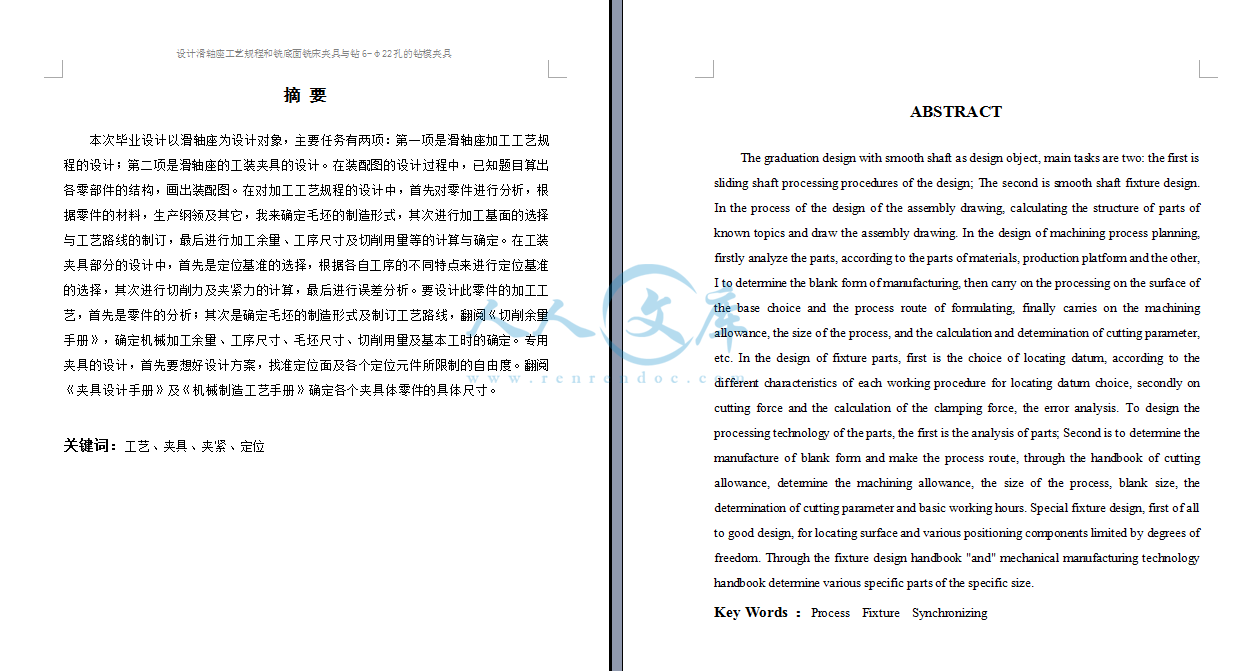

- 内容简介:
-
本科毕业论文外文翻译题 目 : 设 计 滑 轴 座 工 艺 规 程 和 铣 底 面 铣 床 夹 具 与钻 6- 22 孔 的 钻 模 夹 具 院 系 : 机 电 工 程 学 院 专 业 : 机 械 设 计 制 造 及 其 自 动 化 姓 名 : 学 号 : 指 导 教 师 : 设计滑轴座工艺规程和铣底面铣床夹具与钻 6-22 孔的钻模1一、原文ptimization of machining fixture layout for tolerance requirements under the influence of locating errorsFixtures form an integral part of the manufacturing process and are required to hold the workpiece in the desired position. The fixture design should aim at restraining unwanted movement of the workpiece under the action of cutting forces throughout machining. Dimensional accuracy of the machined part thus depends on the design of the locators and the layout and can contribute up to 20-60% of the overall machining error of the workpiece (Qin, 2008). The fixture should be capable of holding the workpiece in a unique position for machining. This condition is called deterministic location. Asada and Andry (1985) used the kinematic model and concluded that a full rank Jacobian matrix is the necessary condition for deterministic positioning of the workpiece. They also derived the condition for attachability and detachability of the workpiece within a fixture. Cai et al. (1997) used a variational method for achieving robust fixture configuration. A non linear programming method was used with an objective of minimizing the positional error of the workpiece resulting from source errors at the locators. This work considered the requirement for deterministic location but did not present a model for the analysis of machining error on a required feature. Choudhuri and De Meter (1999) presented a model to relate datum establishment errors to locator geometric variability. The work studied the effect of given locator errors on the variation of machining feature under a particular locating scheme. Again, deterministic location was not addressed and the effect of locator positions on the resultant machining error was not discussed.Rong et al. (2001) used three different approaches of locating and analyzed the positional variation of locating points resulting from the error of the locators and the locating features. The work however did not address the issue of deterministic location. Song and Rong (2005) discussed the criteria for the locating completeness. Some researchers optimized the clamping force (Li and Melkote,2001 a) or clamping sequence (Raghu and Melkote, 2004) to minimize 2the workpiece positional error. (Li and Melkote,2001 b) optimized the fixture layout to minimize the workpiece error.Since the workpiece is evaluated by its compliance to the specified tolerance, influence of locator errors on the required machining tolerance received much attention in recent years. For example Wang (2002) studied the effect of fixel errors on the tolerance of critical dimensions. This work suggested employing a D optimality model to obtain an optimal layout. Marin and Ferreira (2003) discussed the effect of deterministic locator errors on profile tolerance of machined parts. Qin et al. (2006)discussed an optimization methodology to minimize the workpiece positional variation. However machining error is not discussed. The same authors (2007) presented a method for locating design based on the degrees of freedom constrained by the layout. Cases of complete, partial over and under over locations were discussed. Wang et al. (2007) analyzed the different error components of the workpiece surface. However this study did not discuss the effect of locator layout on machining error . Evolutionary techniques for solving optimization problems have been found to have a higher probability in finding the global optimum values compared to traditional techniques. GA is one such technique that finds increased use in solving optimization of locator layout problems. The task is to arrive at a particular layout of fixture elements that provides the minimum error on the workpiece (Kaya, 2005;Krishnakumar and Melkote, 2000; Padmanaban and Prabaharan, 2008). Simple two dimensional cases are studied in these three works. The way of correlating the layout optimization procedure to the tolerance on critical machining features on the workpiece is not discussed. Chen et al. (2007) optimized the locator layout to control the deformation of a workpiece. But geometric errors of locators were not considered.While the above mentioned studies have provided important and extensive concepts of fixture design they have one or more limitations such as not addressing the effect of locator geometric errors on overall machining error, condition for deterministic location and correlation of layout optimization with the critical machining feature. Most of the above works employed traditional optimization methods that may not yield the global optimum results.Since the final machining accuracy of the workpiece depends on the correctness of the 设计滑轴座工艺规程和铣底面铣床夹具与钻 6-22 孔的钻模3locators it is essential that the locators are machined to the required accuracy and set up without any errors. However it is possible that errors are present in the form of dimension or set up of the locators which will be transferred to the workpiece thus causing deviation from the required dimension. Effect of locator error is comparable to the workpiece elastic deformation in case of low elasticity work parts. In the case of a rigid, bulky workpiece the locator error is much more predominant. Hence the locator layout is to be designed optimally so as to minimize the effect of the locator errors on the final machining accuracy of the workpiece.二、 译文4对定位误差的影响下的公差要求的加工夹具布局优化夹具形成在制造过程的一个组成部分,并须保持工件在所需的位置。夹具的设计应旨在切削力整个加工的作用下,抑制在工件不希望的运动。加工零件的尺寸精度从而依赖于定位器的设计和布局,并可以在工件的整体加工误差的 20-60的贡献最多(秦,2008 年) 。夹具应能够保持工件在用于加工具有独特的地位。这种情况被称为确定性的位置。浅田和安德里(1985)使用的运动学模型,得出一个满秩的雅可比矩阵是对工件定位的必要条件。他们还衍生条件的工件在夹具和脱层附着力。蔡等人。 (1997)实现强大的夹具配置中使用的变分方法。一个非线性规划方法是利用最小化误差从源定位器导致工件位置误差的目的。这项工作考虑确定性定位的需求,但没有提出一个模型的加工误差分析所要求的特征。choudhuri 和米(1999)提出了一个模型与数据建立误差对定位的几何变异。研究了在一个特定的定位方案的加工特征的变化给出了定位误差的影响。再次,确定的位置,并没有解决和定位的位置上产生的加工误差的影响并没有讨论。荣等人。 (2001)用于定位和分析了定位点的定位误差产生位置变化和定位具有三种不同的方法。工作但是没有解决确定性的定位问题。宋荣(2005)讨论了定位的完整性标准。一些研究人员优化夹紧力(李和 melkote,2001)或夹紧顺序(Raghu 和melkote,2004)以减少工件位置误差。 (李和 melkote,2001 B)优化夹具布局以减少工件误差。因为工件是评价其是否符合规定的公差,定位误差对加工公差在近年来备受关注的影响。例如王(2002)研究了像素级的误差对关键尺寸公差的影响。这项工作表明采用 D 最优模型得到最优布局。马林和费雷拉(2003)讨论了确定性的定位误差对加工零件的轮廓度公差的影响。
- 温馨提示:
1: 本站所有资源如无特殊说明,都需要本地电脑安装OFFICE2007和PDF阅读器。图纸软件为CAD,CAXA,PROE,UG,SolidWorks等.压缩文件请下载最新的WinRAR软件解压。
2: 本站的文档不包含任何第三方提供的附件图纸等,如果需要附件,请联系上传者。文件的所有权益归上传用户所有。
3.本站RAR压缩包中若带图纸,网页内容里面会有图纸预览,若没有图纸预览就没有图纸。
4. 未经权益所有人同意不得将文件中的内容挪作商业或盈利用途。
5. 人人文库网仅提供信息存储空间,仅对用户上传内容的表现方式做保护处理,对用户上传分享的文档内容本身不做任何修改或编辑,并不能对任何下载内容负责。
6. 下载文件中如有侵权或不适当内容,请与我们联系,我们立即纠正。
7. 本站不保证下载资源的准确性、安全性和完整性, 同时也不承担用户因使用这些下载资源对自己和他人造成任何形式的伤害或损失。

人人文库网所有资源均是用户自行上传分享,仅供网友学习交流,未经上传用户书面授权,请勿作他用。
 川公网安备: 51019002004831号